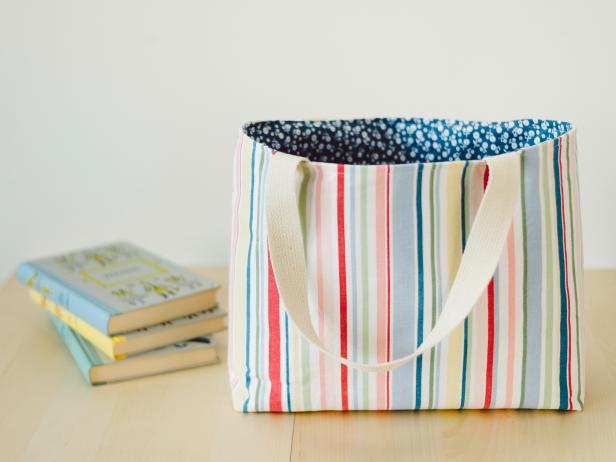
Sewing instructions for making a cloth tote bag. A cloth tote bag with twill tape handles, without or without a flat bottom.
Cloth tote bags are a popular craft and sewing items for those involved in a range of creative activities and events. The cloth tote bag made of unbleached cotton is a useful bag in itself, as a grocery bag or book tote. Often, the cloth tote is a favored basic for needlework or stamp crafting, a venue for company logos, or a packaging alternative for environmentally-friendly merchandise.
You can create your cloth tote bag with a wide range of materials, patterns and sizes and thus, a range of cost to you, its designer. This example will focus on a tote made of unbleached cotton, with simple twill tape handles. You will be able to follow the instructions to choose a standard or a flat bottomed tote.
 After pre-treating your fabric by washing it, drying it, and ironing out any wrinkles, cut two rectangles. You may want to begin your first project by following the measurements suggested for cutting and sewing, modifying later projects to suit your individual needs. The suggested first measurements are rectangles of 18 inches, your width and 26 inches, your length.
Your first step is to sew your side seams. Placing your fabric right sides together, serge your side seams with a standard 5/8ths of an inch seam, or sew with a straight stitch, trimming and zigzagging your seam allowance. If you have serged, iron your side seams, if you have used a straight stitch, iron your side seams with the seam allowances open. Now you have the first step of your cloth tote completed. It should appear as a fabric tube, slightly longer than wide.
Your next step is to complete the upper hem. Keep your fabric tube with its right sides together. Begin by serging or zigzagging the raw edge of your upper hem close to its edge. If serging, be sure to cut off only a bare minimum of fabric. To create your upper hem, fold down 1 ½ inches of fabric to the outer edge of your tube, placing the wrong sides of your hem together. Carefully measure, pin and iron, as usual. Take special care with ironing a sharp, straight seam in the upper edge of your hem. Now, simply topstitch near the upper edge of your seam, approximately 2/8ths of a inch from your upper ironed edge. Again, topstitch close to your serged or zigzagged edge, about 1 and 1/4 inches from your upper ironed edge. This will give your hem a high-quality appearance.
The third step to is to create the handles for your tote bag. Consider using inch-wide twill tape or another similar woven material suitable for handles. Twill tape will be referred to in this example, as its off-white color suits a unbleached cotton creation.
To create full-length handles adding to the strength of your tote, you will need about 12 feet of twill tape. Cut this purchase into equal 6 foot lengths. Each length represents enough to cover one side of your tote bag. Before you sew, finish the ends of both pieces by serging, zigzagging, or simply sewing a few lines of straight stitching with a close stitch length.
Carefully pin your twill tape, beginning from the unfinished bottom hem. Your handles should be placed approximately along thirds of your finished width. Measure 8 inches in from your finished width and mark a placement line with chalk or a laundry marker from the bottom to the top of your bag. Placement lines should be on both parts of your fabric, and on wrong side.
Place your first piece of twill tape extending slightly beyond your unfinished hem, pinning in equal intervals up the length of your fabric, along your placement line. Use the second end of your first piece and do the same with your second placement line. Extra twill tape will extend from your upper hems: this is your carrying handle. Pay special attention to this area to ensure that your handles will not be twisted. If you are satisfied with the placement of your twill tape, sew them securely to your fabric. Topstitch 2/8 of an inch on either side of your twill tape, beginning at the bottom edge of your fabric.
 When you reach the top hem edge, turn your stitching so that you follow the top hem edge of your bag, and turn again to follow your twill tape edge back down to the bottom. Complete this step for all four strips of handle. Return to the upper finished hem of your bag, and stitch again on the same stitching line, through the handles and hem to secure the strength of your handles. Your handles are now complete.
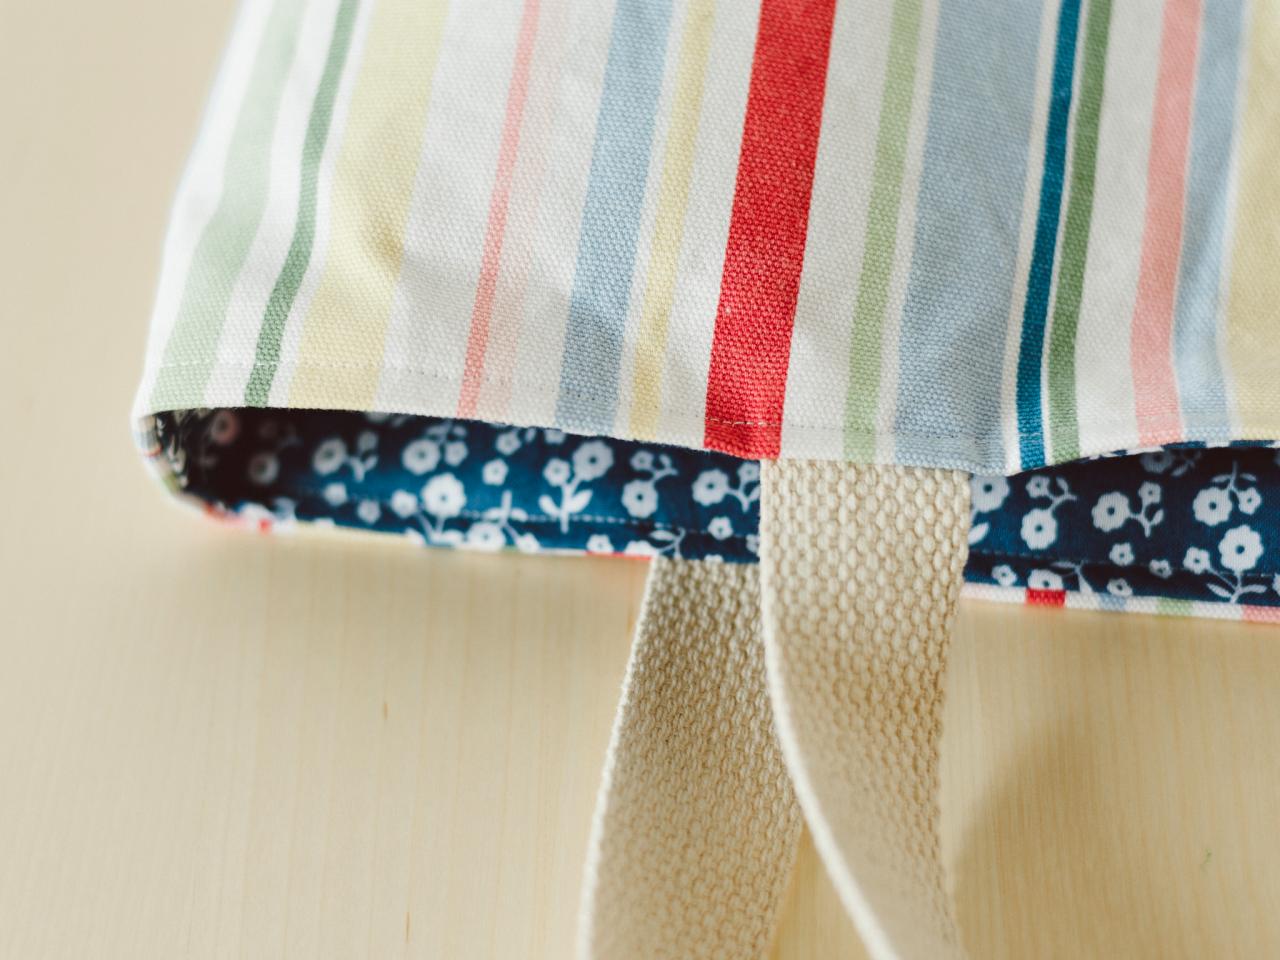
Your last step is to form a bottom hem. For a conventional hem, serge or stitch across your bottom edge, right sides together. Take care when sewing across the thicknesses of your fabric and handles combined. If you have used a straight stitch, return to trim and zigzag your seam allowances. Again, iron your seam.
Forming a flat bottom is a little more complex. After sewing your conventional hem, first place your bag right sides together, with the side seams in the middle and together. Bring down the bottom edges of your side seams and bring up the inner fold of your fabric so that the bottom of your bag resembles a triangle. Hold a ruler horizontal and parallel to your upper hem, near the bottom edge of your fabric. Slide your ruler carefully up your side hem, still holding it horizontally, until you find a place where the edges of your triangle are two inches from your side hem. Mark a horizontal line here, on both sides. Serge or sew along this line.
If you have used a straight stitch, cut off the extra fabric close under your seam, zigzag and iron. Stitch again for strength. Placing your bag the same way, you will see that it now resembles a truncated triangle, with the bottom pointed edge removed. To finish your flat bottom, iron extending from the ends of this new seam, both along the bottom and along both sides of your bag. This will create two ironed edges on the bottom, between which will be the flat bottom of your bag. Along the sides will be two ironed seams, making the top view of your bag a rectangle.
Congratulate yourself on your first finished cloth tote bag. Now you can continue on to use your bag as an everyday accessory, present it as a gift, or use it as the basis for a further craft. As you gain experience and confidence sewing these bags, you will be able to convert and change fabrics and sizes to suit your needs.