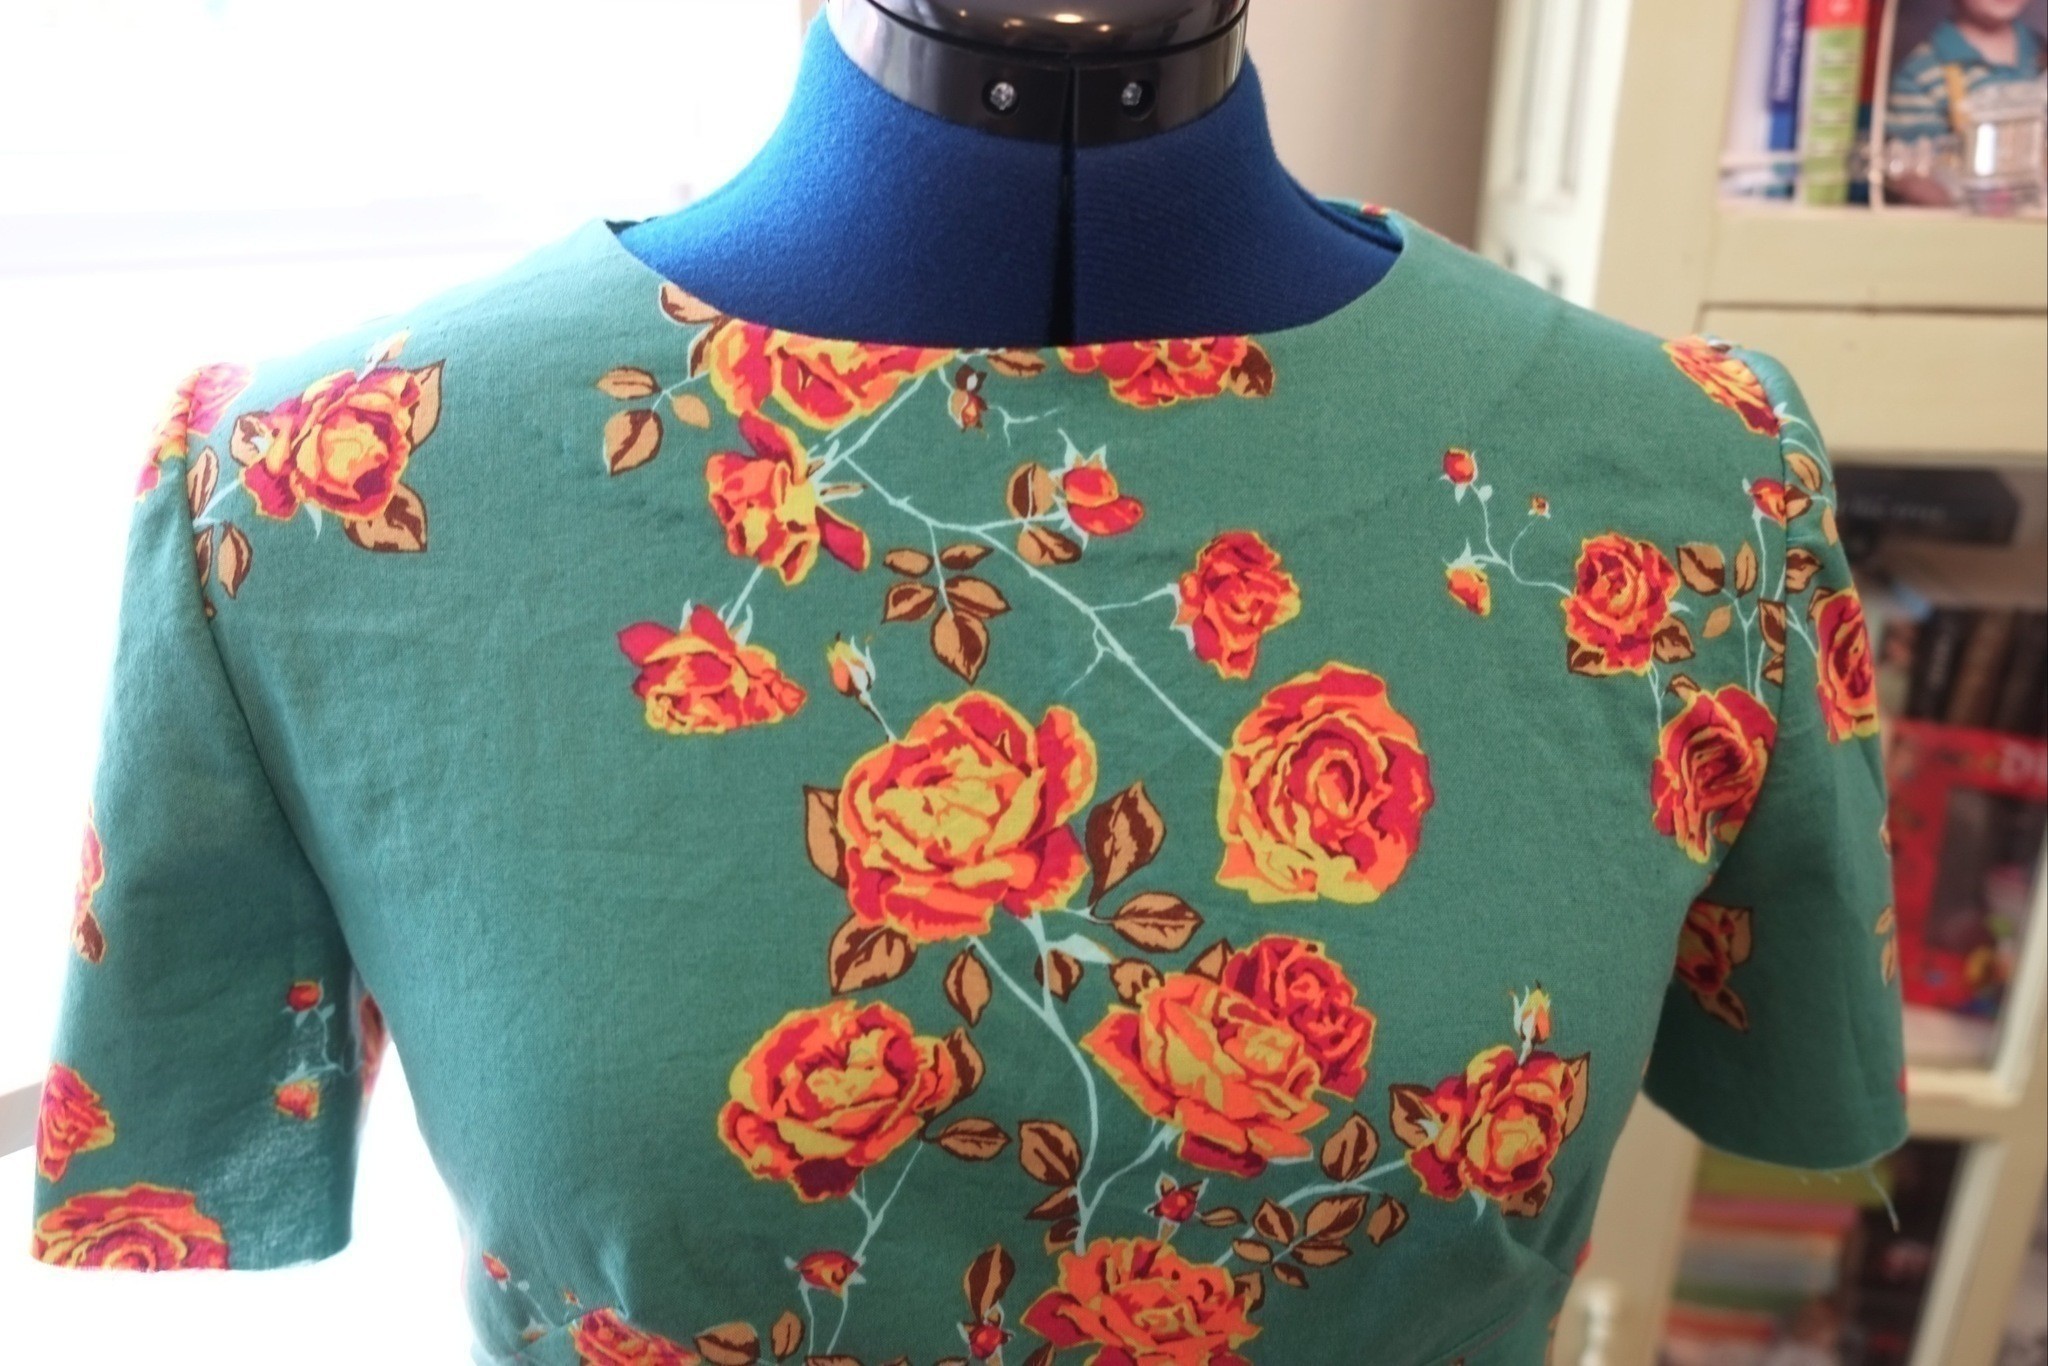
The first time you try to fit a round sleeve cap into the straight line on a garment arsene edge can be daunting. Take things one step at a time and have results that are professionally done.
Sewing any sleeve starts at cutting out and transferring the marking from the pattern. The pattern is designed to have marks which line up as the pieces are assembled. You must transfer the markings onto the fabric in order to properly set in a sleeve.
Of coarse the pattern directions are your first guide. Always read the pattern directions.
In most cases a set in sleeve can be sewn before the side seam in the body of the garment and before the sleeve seams. This will allow you to lay the project out on a table and see how evenly the easing has been done. Check your pattern directions to see if you should sew the seams first.
Whether the seams are sewn or not, before you sew the seams, it is essential to sew lines of machine basting stitches between the dots that have been transferred from the pattern. The fabric between the dots must be eased in for the sleeve to fit the body of the garment.
Easing draws the threads of the fabric closer together and transforms the shape of the fabric for a sleeve cap to form. Two rows of basting stitches are sufficient on loosely woven fabric. Three rows of basting stitches will allow you more control of the easing process and is the most reliable way to evenly ease in tightly woven fabric.
Sew the first row of basting close to the seam line. If you have needle position capabilities, it is possible to use the required seam allowance guide and adjust the needle position toward the seam allowance, to be just shy of the seam line. Adjust the needle position again for the next row of basting and again for a third row of basting.
The sleeve cap will have at least three markings. In most cases the top marking on the sleeve cap will line up with a shoulder seam. Two other dots, below the center top dot, will line up with dots on the arms eye in the body of the garment.
Place the right sides of the fabric together and pin at the markings, being sure to align the markings on the sleeve and the garment. Also align the underarm seams or the edges of the fabric at the under arm.
Use the basting threads to draw in the sleeve fullness and have it fit to the garment fabric edges. Distribute the fullness evenly between the dots being sure you do not have any tucks or gathers in the sleeve fabric. A tightly woven fabric will require more finesse than a loosely woven fabric because the fibers in a tightly woven fabric are already tight and will not have the space to draw together as easily as a loosely woven fabric.
Pin or baste the sleeve to the garment before sewing it in place. Your goal is to have no tucks or gathers in the body of the garment or the sleeve. Basting is a lot easier to remove than your final stitching and taking the time to perfect the way the sleeve fits into the garment will insure results you will be proud of.
Stitch the sleeve in place when you are satisfied that the sleeve is fit properly to the garment. Sew another row of stitches on the seam allowance an eight to a quarter of an inch from the seam line on the seam allowance.
Trim the seam allowance and apply a seam finish. Not trimming the seam allowance will effect the way the seam lays and the way the sleeve fits.
Always press as you sew. Press the seam as it was sewn which will set the stitches into the fabric. An arms eye seam is never pressed open. It is usually pressed toward the sleeve. A pressing ham is especially helpful to the final shaping of a sleeve cap.