For those of you unfamiliar with this word, applique is just the word we use for anything that involves attaching one shape of fabric (or another medium too I guess) on top of another, whether by hand or by machine, with glue or with needle and thread. This is different from piecing, which would be sewing two pieces of fabric together. These are the two basic ways to attach fabric together in the quilting and patchwork process.
At this point in my quilting journey this is my favorite and only method for doing applique. Believe me when I tell you that I have tried most of the other methods out there and there are many of them. Some of them work well for large, simple pieces but no other method works well and gets you good results for both large and intricate shapes with little to no practice. The only thing that you need to do well here is to cut your shape out well.
Most people just refer to this method simply as the Starch Method of Applique.
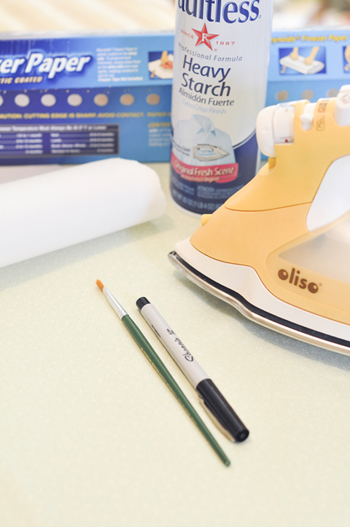
Step 1: Gather your supplies for starching. There are, of course, a lot of specialty products that might help you in this process if you fall in love with it and want to practice it regularly, but to get you started you will only need five items:
- Bottle of spray starch
- Permanent marker
- Small craft paint brush
- Freezer paper
- Iron
The starch and freezer paper are readily available at most grocery or drug stores. For this project, I will use my regular iron but the small craft irons work wonderfully well for applique if you decide you want to do it again!

Step 2: Spray some of the starch into a small container of any kind. You can even use the lid to your starch which is what I usually do, but I have lost the lid to my current bottle so am spraying it into one of favorite little tiny bowls.
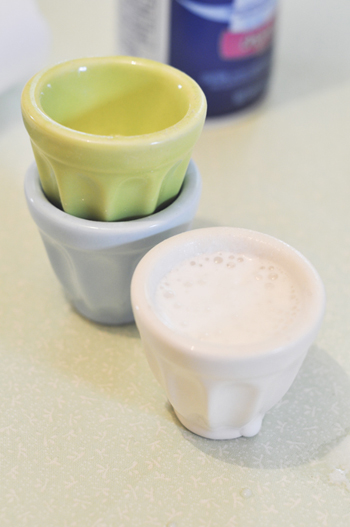
Wait for the foam to go away while you prep the rest of your items.
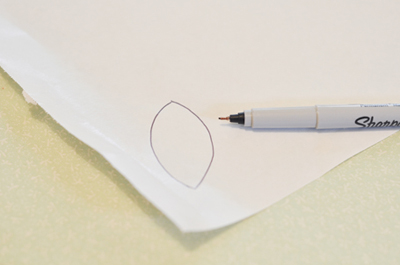
Step 3: Rip off a piece of freezer paper and trace or draw your shape onto the SHINY SIDE of the paper. You will want to get into the habit of doing this if you are going to use this method because it does two things for you. One, it hides the pen lines inside the two pieces (as you will see in a second) and prevents any possible leakage of ink; although I have never had a permanent marker bleed ever, it is a small precaution. Two, it automatically reverses any images that need reversing for the applique process.
The leaves we are doing here today are simple and the same whether reversed or not, but often an image will have a definite direction and in various different ways of doing applique there is always confusion as to whether or not the image has been reversed, needs to be traced reversed, etc., etc. If you get into the habit of tracing your image to the shiny side of the first piece of freezer paper, you will always automatically be doing that and you will never need to think about it.
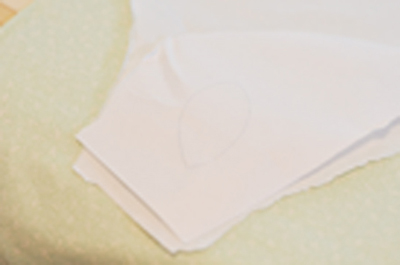
Once you have done that, iron that piece of freezer paper to a second piece, SHINY SIDE TO DULL SIDE. You want the piece that you have created to have one dull side and one shiny side just like a single piece of freezer paper. Yes, this will also press your freezer paper to your ironing board.

Don’t worry and just peel if off the board and it is ready to use. This is one of the best things about using freezer paper– it sticks to whatever you want it to stick to and comes off when you want it to. We use freezer paper for all of our quilting and sewing templates and patterns and love it. We never have to use pins!
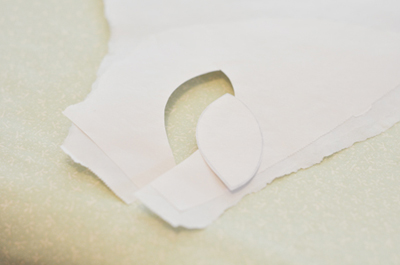
Cut the shape out on the line. What you have now is a double-strong (so the edges won’t curl as easily when you are starching), thicker piece of freezer paper that hides your pen marks inside, has reversed your image if necessary and is ready for starching.
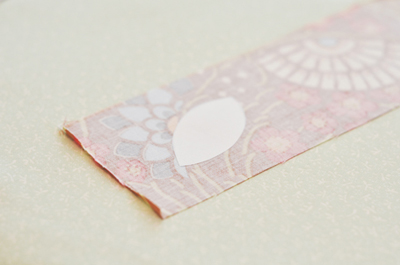
Step 4: Place the freezer paper template on the wrong side of a piece of fabric and press to the fabric.
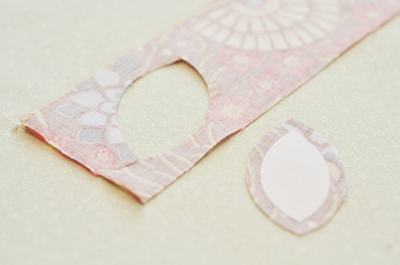
Step 5: Cut the fabric shape out, adding a 1/4” seam allowance all the way around the template as you cut.
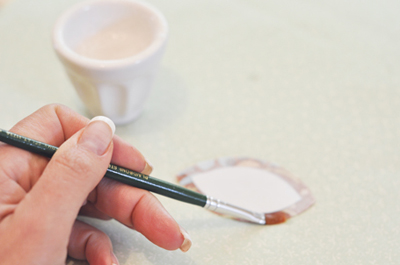
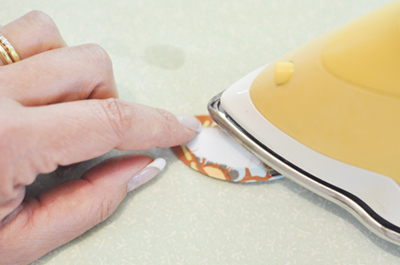
Step 6: Using the now “de-foamed” starch and your craft brush, paint some starch on the wrong side of the seam allowance and use the tip of your iron to press that seam allowance back onto the freezer paper shape. Note: Make sure your steam is off!

Be sure you are pressing the fabric all the way onto the freezer paper shape so that your fabric is actually taking on the shape of the paper, otherwise your shape won’t match the shape you cut out.

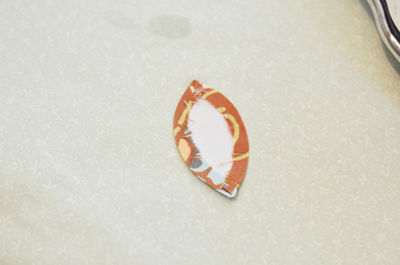
Use your finger or a stiletto to pull the fabric all the way over the shape. When you get to the corner, press all the way on one side and then turn and repeat on the other side. Personally, on a simple larger piece such as this one I will then press that corner piece back inside and underneath.
If you are doing small, intricate pieces with lots of curves and points, there are other methods for those pesky corners but that is for another day. For this shape, turn that piece under with your iron, adding a bit of starch on it if it is dried and resistant to pressing.
Step 7: Find a “straight away” (meaning not a corner or an inside point of your shape) or a larger section that is more or less straight, and grab the paper and pull it out all with one movement.
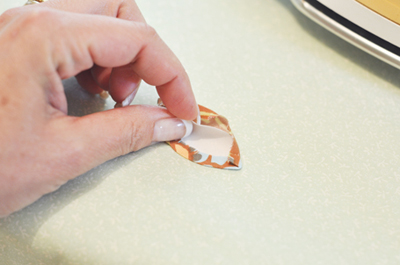
Don’t worry about being slow and careful, fast is better in my opinion.

Press the shape one last time from the front after the paper is removed to get a nice, crisp turned edge.
Save the paper template and reuse it as many times as you can before it falls apart. I have sometimes used the same shape 25 times before needing to make a new one!
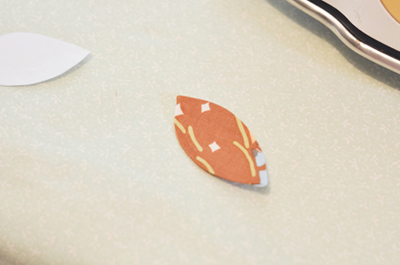
Step 8: As I’m sure you have noticed, due to the starch, the seam allowances stay put exactly where you pressed them and they will stay that way forever. Well… I guess I can’t claim forever, but I have left them for a few months in a baggie like that and they have not come undone!
You now have an applique shape that is completely turned under and ready for stitching to whatever you had in mind. You can simply pin or glue these onto your quilt, clothing, purse or whatever else you are hoping to embellish with the applique and machine stitch it on. I use a blanket stitch on my machine and love the end result. There are a variety of other stitches on other machines that work equally well, and in a pinch you can even use a small zigzag stitch to attach the applique to your fabric with great results. Play around with your machine and see what works best for you. Or you can hand stitch the shape to your fabric which is what I am doing here today.
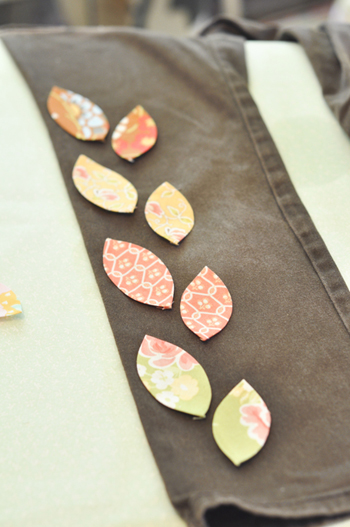
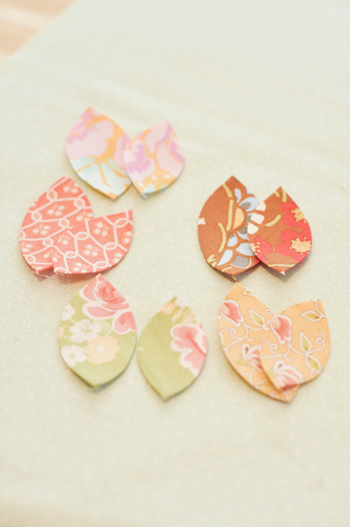
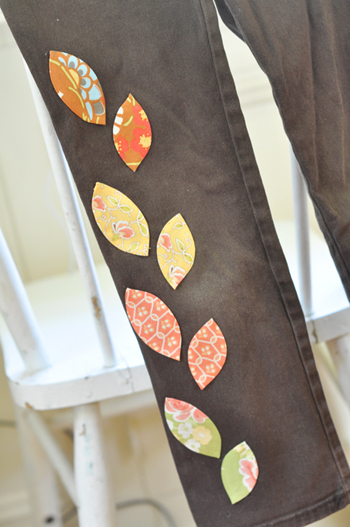
Instead of creating a new project I thought I would just take a somewhat used-up pair of my daughter’s brown pants and add a little applique to them to make them cute for the summer. I made four small leaves and four medium size leaves using the method above. I used a combination of my Fig Tree fabrics and some older Amy Butler and Kaffe Fassett fabrics; one of my favorite things to do is to mix my more vintage-flavored fabrics with some of the more modern ones that use the same colors and tones for such a great effect! I glued them up one side of the right pant leg and then stitched them down using neutral thread. I think she will love these when she gets home!
In another post I will show you how I stitch these on by machine and by hand, and show you a few “tricks of the trade” for how to get the best results. I hope this makes applique a bit more doable for some of you out there!