Hi Sewing Friends:
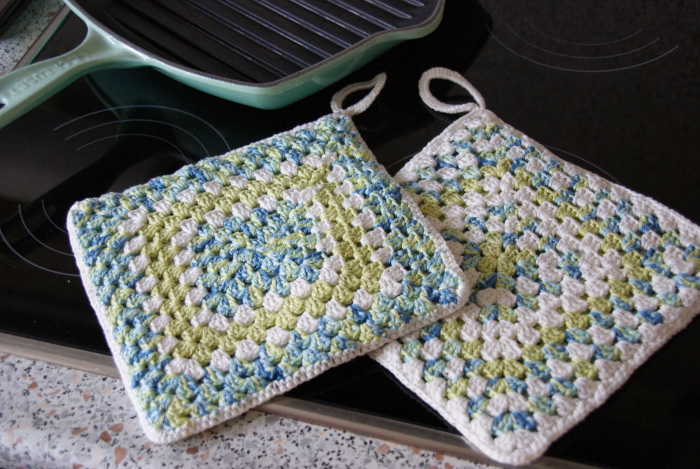
Well, I just burned my favorite pot holder on the oven rack. It now has a big, scorched mark across it. Yuk!
When I checked my kitchen drawer, it seems that all of my pot holders look the same. Pretty disgusting!
So, I decided to do something about those pot holders besides throw them away and get new ones.
I thought I would recycle them by making covers to hide the burned spots.
Why not? It just makes sense!
Here’s how I did it!
Is your kitchen drawer full of old pot holders that are so scorched and worn looking that you would never want anyone else to see them? Well, don’t throw them away yet!
Here is a sewing tip to revitalize them.
Try this “how to sew” sewing lesson and recycle all of your old pot holders by sewing a new cover for them.
This sewing technique is a good sewing tip to cover other items in your home, too. Sew a cover for your comforters, quilts, placemats and pillows to spark up your home dec.
Here is how to sew a new cover to recycle your old pot holders and make them look brand new again.
Use some fabric scraps from your stash to match your kitchen decor or look through the remnants at your local fabric store.
Cut off the old pot holder loop or ring if there is one.
Lay out the pot holder on some paper and draw a pattern around it adding a 1/2 inch seam allowance all around the shape of the pot holder. You can save this pattern for future pot holder covers. Label it so you know what the pattern is.
Using the pattern, cut 2 layers of fabric to make the pot holder cover. Use 2 different fabrics if you like.
Here are a couple of ways that you can sew this.
Method 1:
Place the 2 right sides of the fabric together.
Sew a 1/2 inch seam around 3 sides of the cover plus go around the corners on the 4th side leaving an opening to insert the pot holder.
Press the seams open.
Turn the cover right side out.
Insert the pot holder in the cover.
Slip stitch or machine stitch the opening closed.
Add a fabric loop or curtain ring if you prefer to hang up your pot holder.
Method 2:
Sandwich the pot holder between the two layers of fabric with the right sides of the fabric facing out.
Pin to hold all layers together.
Use your zipper foot to stitch close to the edge of the pot holder all around.
Trim the seam allowance to 1/4 inch all around.
Use bias tape or self or contrast fabric strips to bind the edges of the pot holder.
If you like to hang your pot holders, form a loop at the end of the binding to extend from the edge of the pot holder.
Note: You can quilt these pot holders if you like, however, it really isn’t necessary. Experiment with some of your sewing machine’s decorative stitches.
Extra sewing tip: Pot holder covers are a great way to use up some of your embroidery or stitching samples that you have in your stash. Give them as gifts or make up some great bazaar items.
An extra, extra sewing tip: Cut up that old mattress pad to use as the “batting” for some new pot holders and placemats.