Pockets can beautifully accent a professional-looking garment or they can blatantly expose poor construction. A few simple guidelines will ensure successful results.
• Generally, the pocket is cut on the same grainline as the garment (lengthwise), but for design interest, especially with stripes or plaids, the pocket grainline can be on the crosswise or bias grain.
• Interfacing can help prevent the pocket from stretching out of shape. Pockets made from crisp, firmly woven fabrics are least likely to need interfacing, though some pocket fabric colors require the additional opacity an interfacing or lining can provide. Depending on the fabric, pocket shape, placement and use, interface the finished pocket only or include interfacing in the hem and/or seam allowances as well. Cut the interfacing with the stable grainline parallel to the opening edge.
• When a pocket is lined, the lining fabric automatically shapes the pocket when it’s turned right side out. Unlined pockets, however, especially curved ones, require extra help. That’s where a cardboard template the size and shape of the finished pocket comes in handy. Simply slip it under the unlined pocket’s finished hem allowance and press the seam allowances around it.
• On curved pockets: Wrong side up, machine baste 1/4″ (6.5mm) from the curved raw edge. Draw up the bobbin thread and adjust the gathering to ease the seam allowances smoothly around the template. Or from the right side, zigzag over a cord 1/4″ (6.5mm) from the raw edge. Pull the cord from both ends to draw up the curved edges, easing the pocket around the template. Press from the wrong side over the cardboard remove the template and press again from the right side.
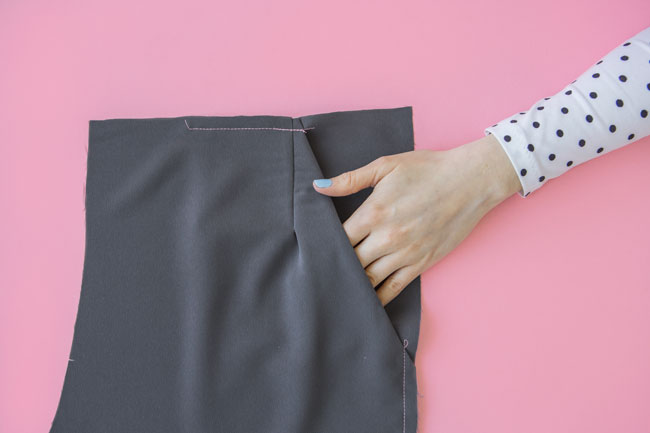
• On square or chevron pockets, you can press accurately without a template if you machine stitch around the pocket just inside the seamline. Then fold the seam allowances to the wrong side, rolling the stitched line so you can barely see it at the folded edge. Press the lower edge first; then press the sides.
• To determine pocket placement on the garment, cut out pocket shapes in the sizes and fabrics desired. Test various locations, then pin the pockets in place. Try on the garment sections and evaluate the effect in a full-length mirror. Move the pockets around, if necessary, until you have the look you want. Without unpinning the pockets, mark the location for each one.
• If the pocket will endure a lot of strain, reinforce the entire pocket area by applying interfacing to the garment wrong side. If less reinforcement is required, apply an interfacing strip on the garment wrong side under the pocket hem area or simply apply 1″ (2.5cm) interfacing squares under the pocket upper corners
• Position the finished pockets on the garment. If the garment section is flat, pin the pockets in place on a table. If it’s shaped, place the section over a pressing cushion or ham. Baste the pockets in place as needed with hand stitching, glue stick or transfer web strips. To edgestitch pockets on casual garments, begin and end with backstitches. Use a zipper foot or edgestitch foot for better visibility and smoother stitching.