Diane is author of the new Scrap Quilt Secrets: 6 Design Techniques for Knockout Results from C&T Publishing. She knows quilting and her way around scraps!
From the publisher:
Turn your scrappy mess into a quilting success! Armed with the easy-to-use S.C.R.A.P.S. system (style, contrast, repetition, accent color, palette and selvages), you’ll sew extraordinary quilts from every last bit of the fabric you love?even the tiniest scraps. Personalize 16 beginner-friendly quilts using the blank coloring pages, or apply the concepts to tackle any scrap quilt you want to make. These 5 must-know scrap secrets will forever change the way you look at scrap quilting!
Scrap Quilt Secrets just released and it’s full of the information you need to make your next beautiful scrap quilt.
We asked Diane to give us her best 10 Minute Tips for Quilters. Check out the tips and add your own advice in the comments.
_____________________________________________________________________________________________________________
Quilters love tips! It’s true that quilters can’t get enough good tips on how to save time, how to accomplish tricky steps more easily, and how to sew more accurately! I’ve found in teaching workshops and giving presentations, that my “10 Minute Tips” often receive the most comments. It’s fun to see quilters light up when they realize there is an easier way to do a certain step, or a faster way to do something that they’ve struggled with. Saving time and getting better results are on the top of almost every quilter’s list so today I will share some of my favorite tips!
10 Minute Tips
Some days you just don’t have time to sit down and sew. Or perhaps you’re not feeling motivated by any of your current projects. For those times when I can’t get involved in a quilting project, I like to do one of more of the following:
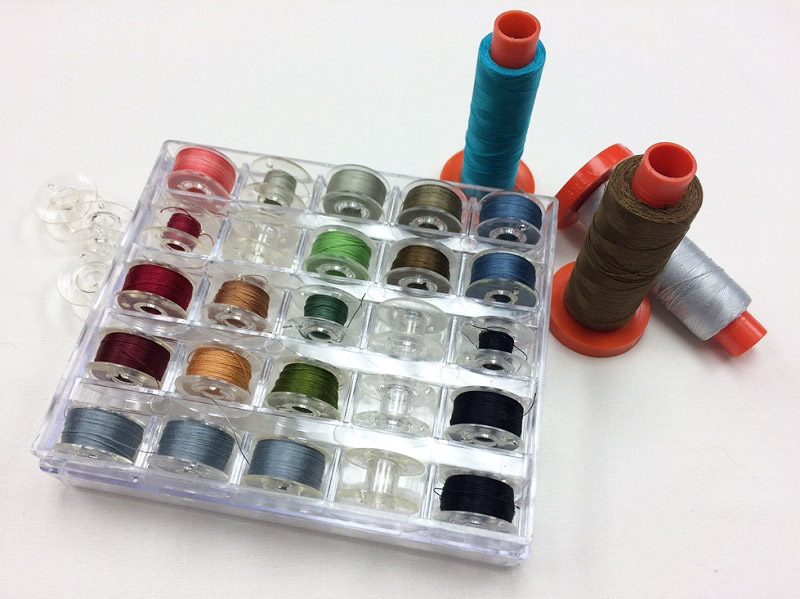
1. Wind a few bobbins. You can never have enough on hand! Use almost empty spools to fill bobbins. Random colors can be used for piecing and if you are sewing a scrap quilt, why not use scrap threads?
2. Clean your machine. Chenille stems are perfect for grabbing lint from tight spaces. (Always follow the manual recommendations.) A quick removal of lint, a drop of oil and your machine will surely thank you!
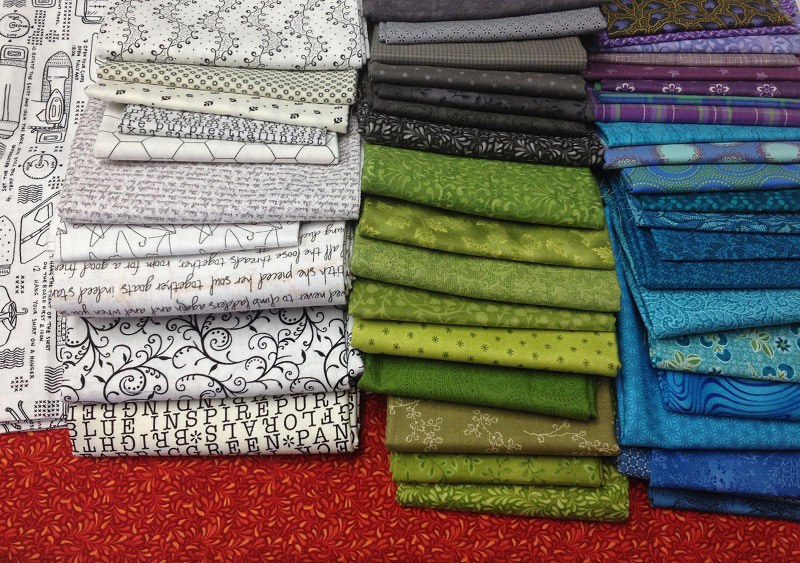
3. Kit a project. Pull fabrics to use for a pattern you want to sew. Seeing the fabrics all together with the pattern may just be the motivation you need.
4. Change your rotary blades. If you’re like me, you’ve been putting it off for way too long! Save the reusable containers for old blades. Label them as USED. Once the container is filled, it is safe and ready for disposal.
5. Take a lint roller to your design wall, dust a few shelves or run a vacuum. You know threads are lurking everywhere!
Tips to Get Organized:
Taking a few minutes to get organized will save lots of time later. I like to make a big mess when I am in the middle of a project, but I also like to tidy up in between! Here’s a few tips on how I keep my sewing room manageable.
1. Sharpen marking pencils and have several ready to go before starting a new project.
2. Make all the copies you will need (plus a few extras, just in case!). Paper piecing will go more smoothly if all of your copies are made, cut and pre-scored before you start.
3. Clear your work surfaces. Having a clean cutting table, ironing surface and sewing space will save time during your work sessions. So put away those new purchases, gather scraps into baskets and put rulers in a rack! Having space to work without shuffling items around will make life so much easier!
4. Use a basket or bin to collect the pattern, all the fabrics, thread, tools and any other items you may need for a project. Make sure the container is large enough to store blocks and pieces during the construction of your project. Having a place for everything will keep things safe when you need to take a break and it will prevent items from getting used in another project by accident.
5. Once you’ve finished a project, go ahead and put a fresh needle in your machine, fold and store fabric, return rulers to their racks and put away any other tools you’ve pulled out. You’ll be so happy that you may start another quilt!
Time Saving Tips:
We never have as much time to quilt as we would like, but being more efficient is great way to get more done in less time. Try a few of these tips and see if you notice a difference in the amount of time it takes to finish your next quilt.
1. Take a photo of the supply list for the next pattern you plan to make. The next time you’re at the store you’ll just need to look at your phone to know exactly how much of that gorgeous fabric you need to buy or what size batting to pick up.
2. Can’t decide which fabrics to buy? Again, grab your phone and take a photo of the fabrics in different combinations. It’s easier for the eye to see contrast on a small screen than in real life sometimes.
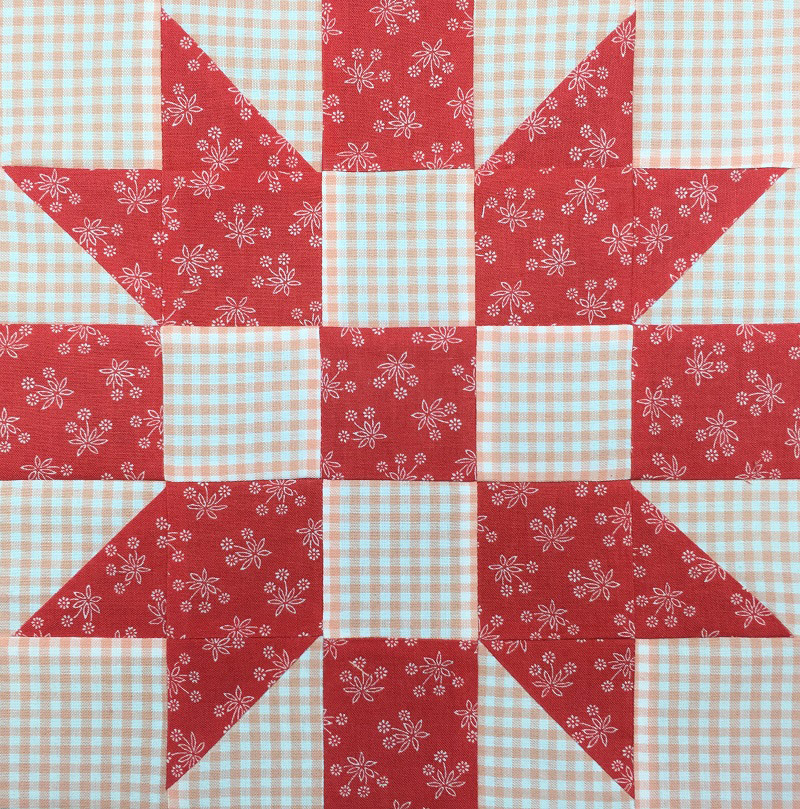
3. Make a test block. I know it seems like it will take more time, but think of all the time you’ll save if you need to change a fabric or make an adjustment. Finding out what needs correcting before you cut out the entire quilt will be a time saver for sure!
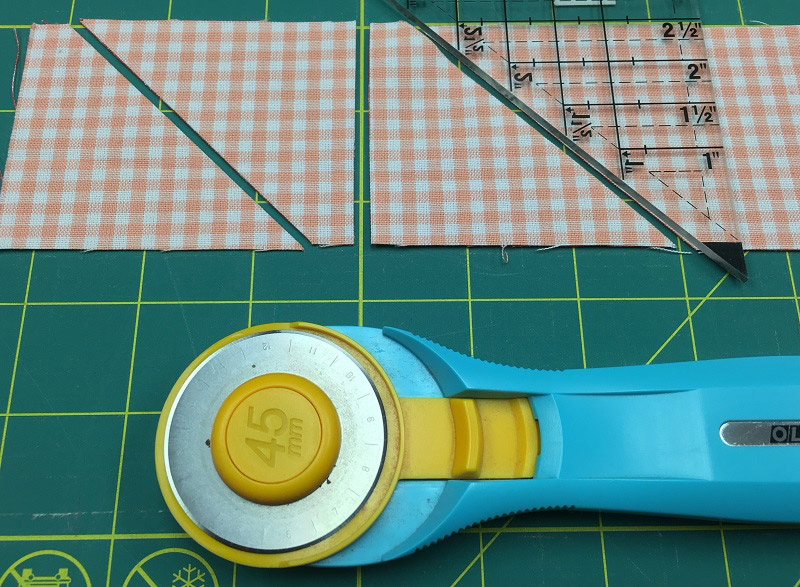
4. Layer fabrics right sides together before cutting them. If you are going to sew pieces of the same shape and size together (strips for example) layer them right sides together and then cut them. This way they will be ready to sew without any need to pair them or arrange them.
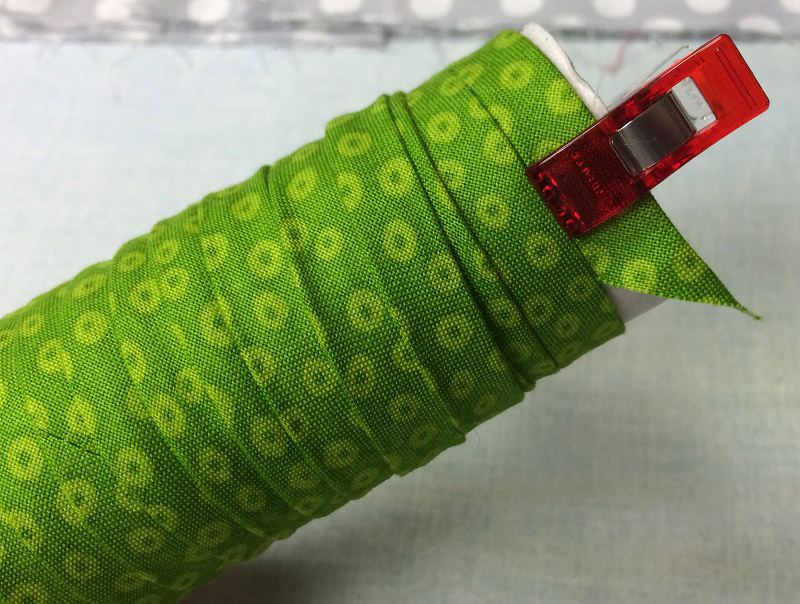
5. Make your binding before you start. Roll the binding around an empty cardboard tube and secure with binding clips. You’ll be so glad you did this when you’re ready to finish that quilt!