Most sewers I meet are either liners or non-liners. I think it’s a love-hate thing. Most of us want to line our clothing, but that extra step, the extra fabric, and extra patience seems like a lot of work for something most people will never see.
Usually, linings are subtle. Most of us want it to be quiet. If someone does catch that your jacket is lined in the same fabric as your dress, then it’s almost like a surprise present… “Ooooh, I didn’t know that you lined thaaaat!”
Why Add a Lining to a Garment?
Linings can serve multiple purposes:
1. The obvious: provide a slip for those lighter, see-through fabrics.
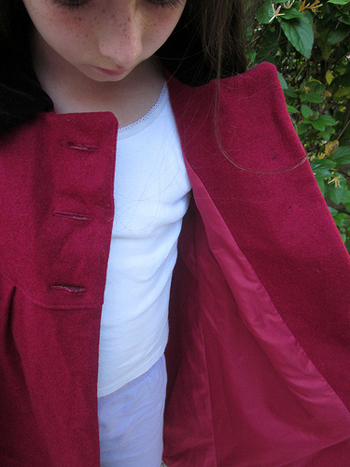
2. Provides a smooth inside finish to hide seams & such; common for jackets.
3. Provide a little luxury or add a little pizzazz to your garment.
4. Add warmth or protection from rough fabrics such wool.
5. Help with the shape and drape of a garment as well as improving overall the structure of the garment.
6. Adds durability for items such as children’s clothing. Stretched seams and sweat stains can all be contained in the lining and not affect the outer garment which will allow longer use.
Types of Lining Fabrics
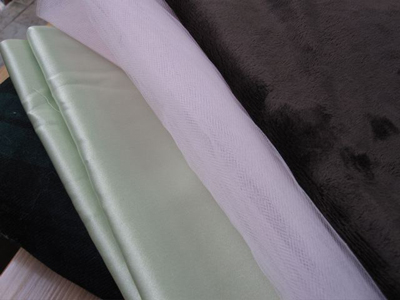
After deciding on the purpose of your lining, you can then make the choice as to what type of fabric to use. Here are some options:
1. Smooth cottons are used when lining simple garments such as skirts or blouses. You usually want something that is light in color, breathable and smooth against your skin.
2. Fiber blends are easy to find which can be used to line more formal garments. These are usually labeled in stores as “Linings” and can be a combination of silk, satin, taffeta or chiffon. You can choose from glossy to matte finishes as well as printed or plain fabrics.
3. Heavier linings may be needed for robes & jackets. These may include fake furs, fleece or some heavy polyester blend.
Overall, you need to consider how the lining will add to the bulk, drape and shape of your garment. If lining a jacket for warmth, remember to accommodate for the added bulk. Press dart seams in opposite directions, press all seams open and trim bulky seams out of your lining.
In most cases, linings are made by adding as little as 1/8” to your seam allowance. This will ensure your lining fits inside the final garment. If your pattern calls for a ½” seam allowance, you will want to use a 5/8” seam allowance for your lining. This will make your lining a tad bit smaller than your outer garment and ensure a smooth fit when you sew them together.
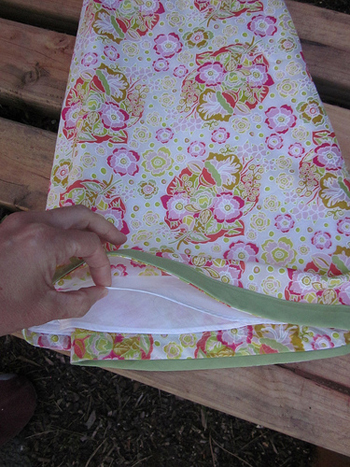
Most linings are attached easily. They can be sewn into waistbands, under facings or allowed to hang free. Careful placement of zippers or other closures can provide a finished look.
Take the time and make that garment special. No one may ever see your extra touches, but every time you put it on, you will not regret it.