Natalie is the author of the new A Modern Twist: Create Quilts with a Colorful Spin, published this year by Martingale/TPP. Popular quilting expert Angela Walters also contributed to the book, sharing some of her quilting design knowledge. Natalie designed this easy Quilted Coasters + Table Topper tutorial for you, to give you a sense of her quilting and teaching style in the book.

I am a simple girl. It’s true. If you have ever heard me speak, or been in a class of mine, you have heard me try to tell you that appliqué is nothing more than a blind hem stitch and quilting is nothing more than a running stitch. I am a firm believer in needle and thread, and a fan of the good old fashioned metal straight stitch sewing machine. My favorite bag construction is front and lining, with batting and canvas between. Cotton to cotton. I pin baste; it’s true. I am a simple girl, so this is a simple project… There are no fancy oval appliqué, raw edges, big stitches, etc. It’s the design that counts here. (It goes without saying that there is no right way to approach quilting, of course, and this is just my style.)
When it came to writing my new book, A Modern Twist, I knew I wanted to create a technique that was fairly, well, simple. While there are chapters on color, contrast and composition, the most important lesson is this… Put a little bit of surprise into your projects!
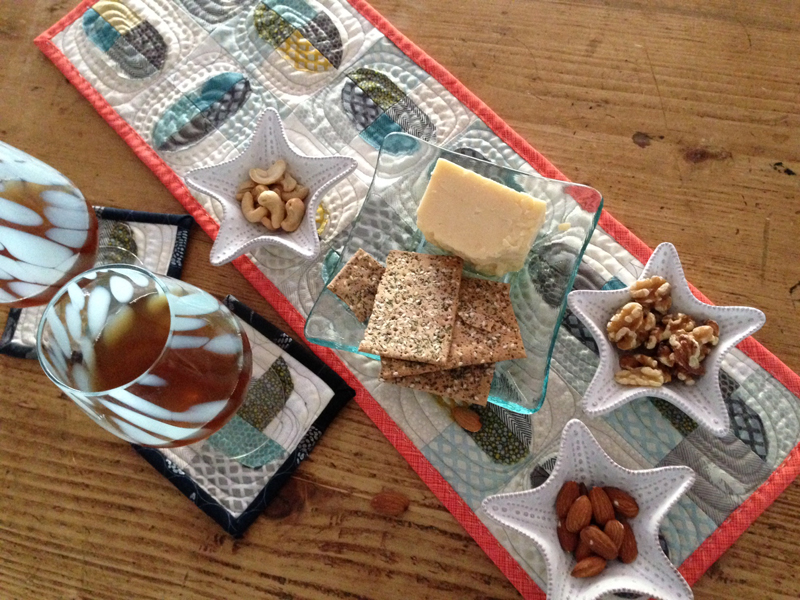
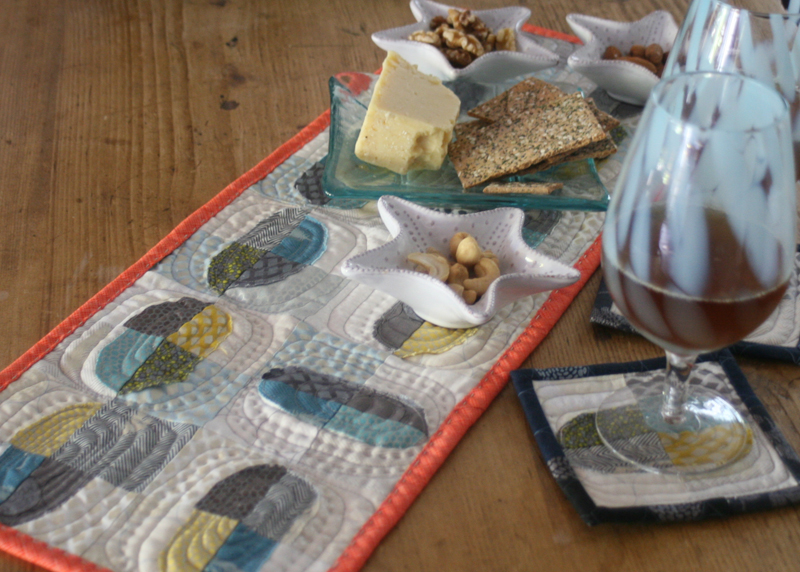
With a stack of 5 inch squares in front of me, I thought to myself, “Life is Messy.” Let’s make a few coasters and a small table topper for hors d’oeuvres around the scrubbed pine kitchen dresser. After all, as the old saying goes, “No matter where I serve my guests, they always like my kitchen best.”
Fabric Requirements:
- One 40 piece precut bundle of 5″ squares
- 1/3 yard fabric for table topper backing, cut to 12″ x 30″
- 1/4 yard contrasting fabric for table topper binding, cut two (2) 2-1/4″ x 40″ straight binding
- Four 5″ squares of InsulBright ™ batting
- One 12″ x 30″ piece of cotton batting
Fabric shown is Shimmer II by Jennifer Sampou for Robert Kaufman. Red binding is Architextures by Carolyn Friedlander for Robert Kaufman.
Supplies:
- Rotary cutter, 6-1/2″ square ruler, cutting mat
- Scissors, pearl cotton, sewing thread, embroidery needles, thimble
- Sewing machine

Instructions:
Before you get started, sort your 5″ squares into lights, contrasting mediums and darks:
– You will need four lights for coasters and twelve lights for the table topper.
– You will need twelve contrasting mediums for coasters and table topper.
– You will need eight darks to piece and cut/prepare for coasters binding.
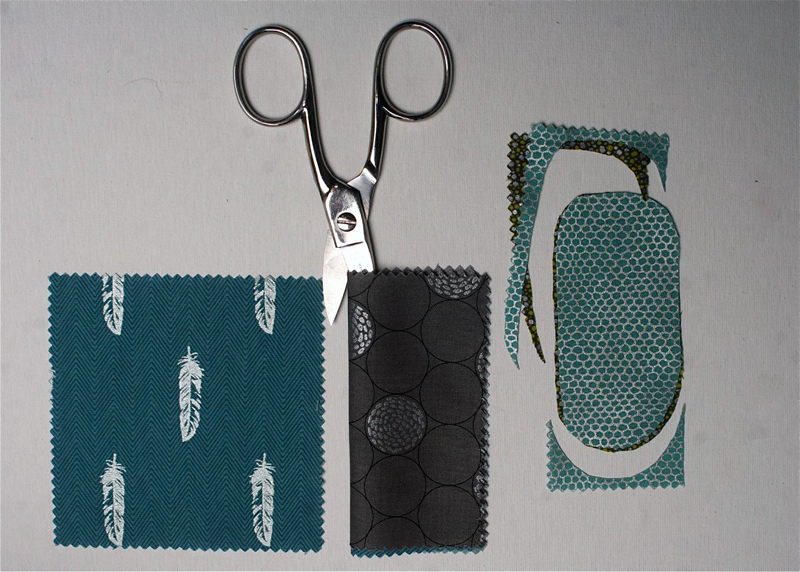
1. Cut ten (10) contrasting medium 5″ squares in half.
2. Using scissors, trim 2-1/2″ x 5″ rectangles by rounding corners and trimming down to an approximate 2-1/4″ x 4-1/4″ oval.
3. Pair ovals with light 5″ squares; center oval on square and machine stitch just inside of the edge of the oval. (If you must have a dimension, use 1/16 inch inside of raw edge.)
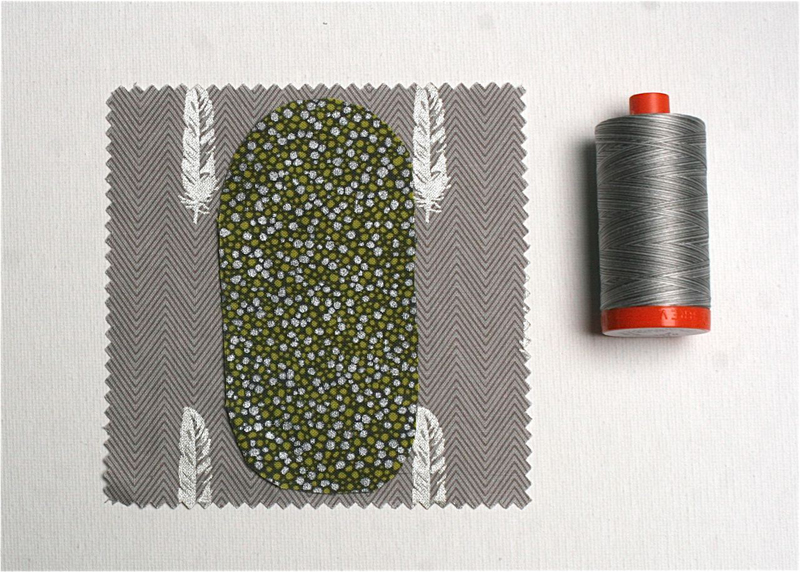
4. Cut each of the sixteen (16) 5″ squares in half, then half again. (Four 2-1/2″ x 2-1/2″ squares.) Cut two medium 5″ squares into four 2-1/2″ squares.
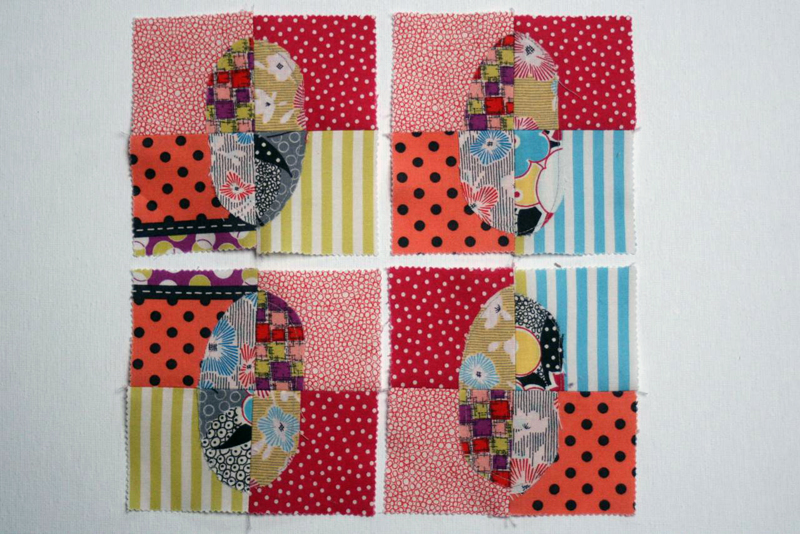
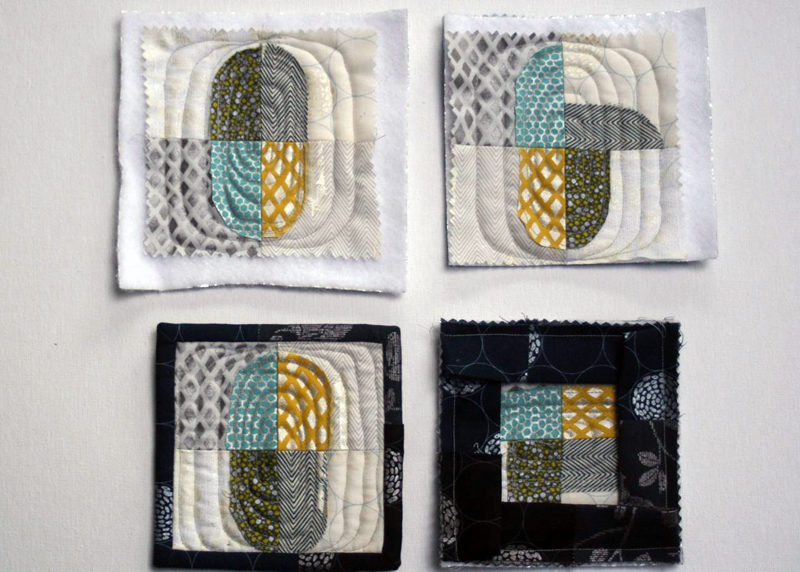
5. Using a design wall, or other flat surface, lay out four different 2-1/2″ squares in a scrappy manner to form a scrappy oval. Move the pieces around until you are satisfied with your layout. Create four coasters, then create a table topper of two (2) x six (6) blocks for the table topper. Here’s where A Modern Twist comes in; remove one or two or three 2-1/2″ square with oval pieces, and replace with plain 2-1/2″ squares. Now select one 4-1/2″ square and turn it 90 degrees. You have added a little “surprise” into your project!

Here’s what the design looks like with different fabrics and colors:
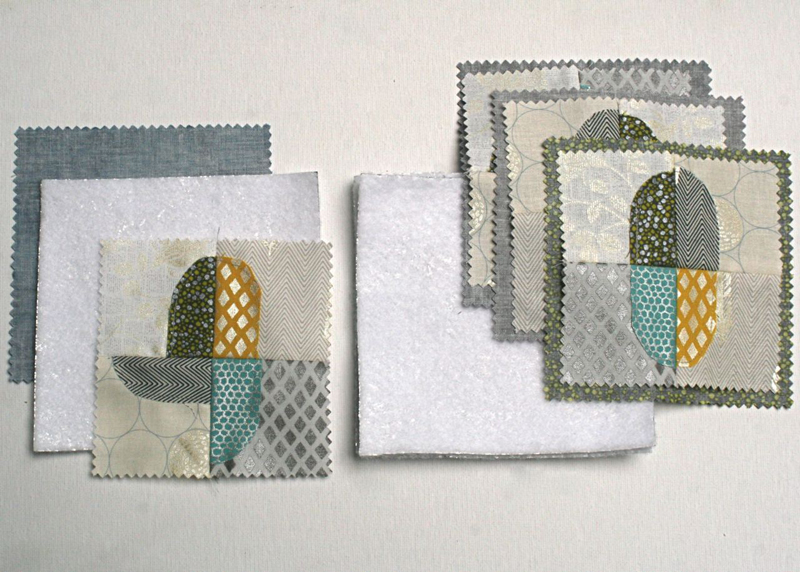
6. To make coasters, piece 2-1/2″ squares into one 4-1/2″ square. Press seams open. Layer 5″ square backing, face down, InsulBright, and newly created scrappy oval top.
7. To make table topper, piece 2-1/2″ squares into table topper. My technique for piecing tops is the following:
a. Stack column one and column two pieces, top to bottom.
b. Place these two stacks in front of your sewing machine; chain piece.
c. Stack next column, top to bottom and chain piece to item created in Steps a and b.
d. Continue until all columns of project are attached; do not cut apart.
e. Press. (In this case press all seams open.)
f. Pin rows together, carefully matching all seams; sew together, removing pins as you sew.
g. Press. (Again, in this case, press all seams open.)

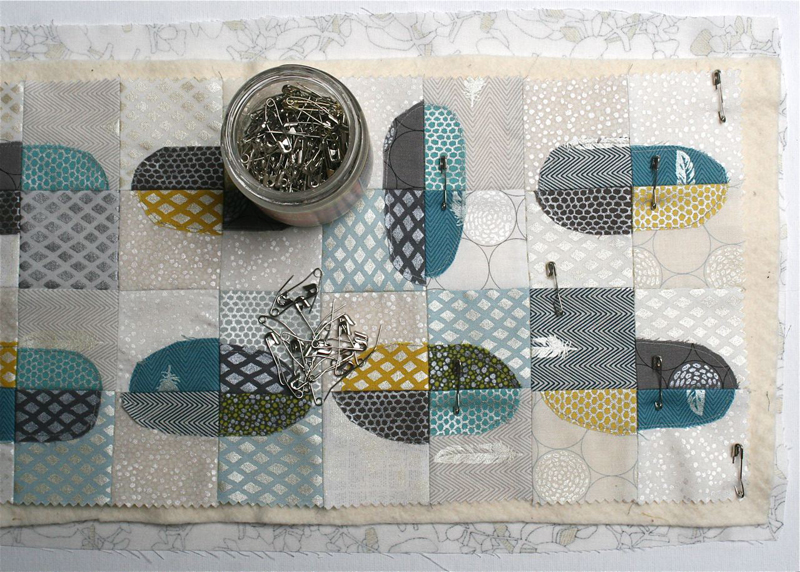
8. Layer 12 x 30″ backing fabric, face down, batting and newly created scrappy oval on top; pin baste.
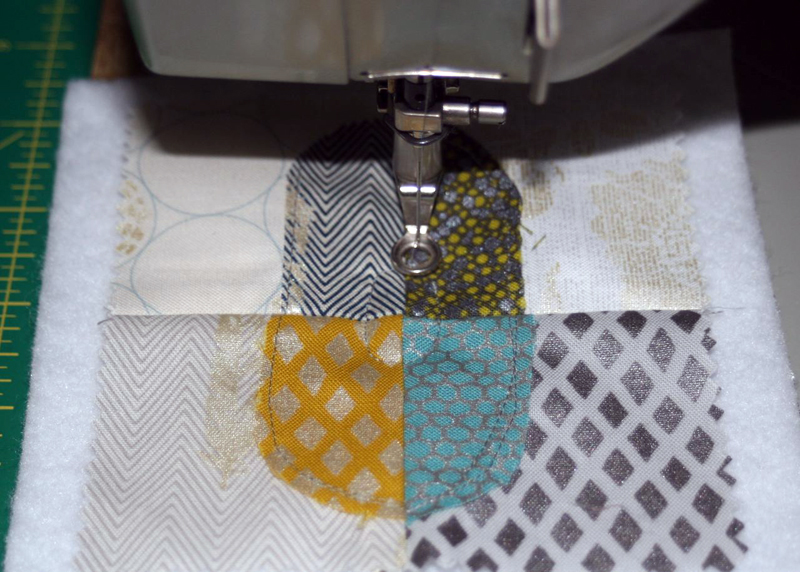
9. Refer to your sewing machine manual to revise your sewing machine settings for machine quilting. Quilt coasters and table topper, removing pins as you quilt.
10. Give your project a good pressing. Trim/square up coasters and table topper. Prepare 2-1/4″ straight binding and attach to front of coasters. Turn binding to back, and hand stitch.
11. Prepare 2-1/4″ straight binding for table topper, and attach to BACK of table topper.
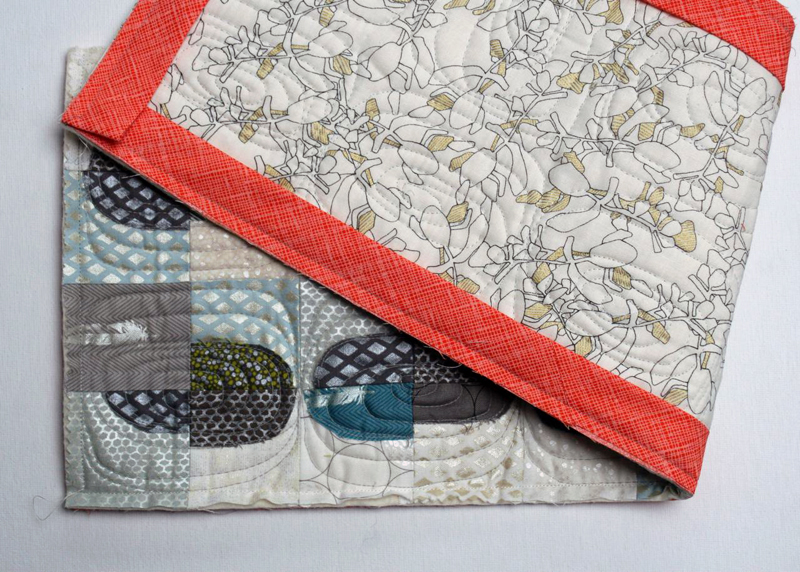
12. With pearl cotton and crewel/embroidery needle, “quilt” binding to the front of your table topper. When quilting, catch only the top and batting, and do not catch backing of quilt. You have now learned how to attach “Natalie’s quilted binding!”
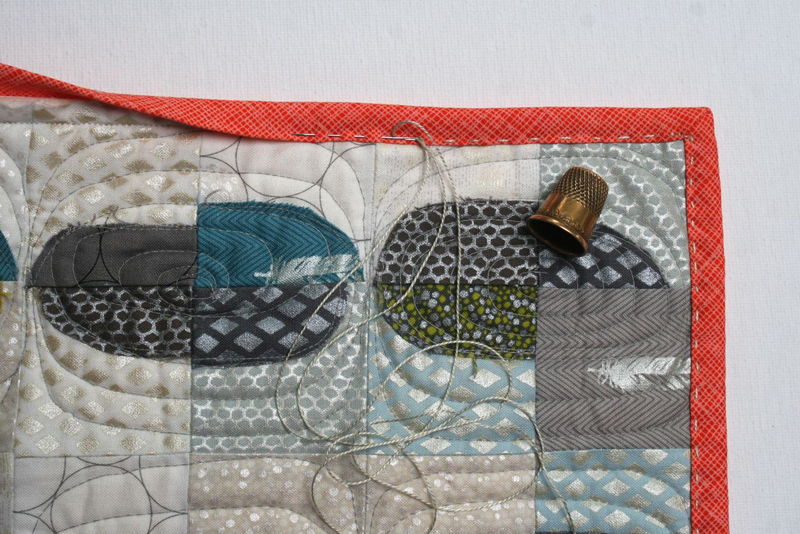
13. With pearl cotton and crewel/embroidery needle, add some hand quilting to your table topper.
So in summary, you just make simple blocks, and twist and turn them to create a much more interesting project. If you want to know a little more about this concept I hope you will purchase your own copy of the book, A Modern Twist. There is even a chapter on how color, contrast and composition plays a part in quilting your project, written by Angela Walters!