I have a confession– As much as I love fabric and thread, sergers terrify me. In all my 10+ years of sewing, I have never touched one nor could I tell you the first thing about how to use them. Four or more spools of thread, a knife and a seam that looks like it could very easily turn into a rat nest is just plain intimidating. Not to mention the price tag is much more than a standard sewing machine. That can be very prohibitive, especially if you are just starting out sewing and only have the budget for one machine. Others may produce beautiful and professional results with the assistance of a serger, but it is just not for me.
This isn’t to say I don’t care about beautifully-made, professional-looking garments; in fact I care about them very much. If I am going to spend several hours cutting, measuring and stitching together a handmade item, I want it to look nice and I want it to last a long time. In this article, we will take a look at several methods you can use to finish a garment to high standards with just a sewing machine; even the most basic models will get the job done.
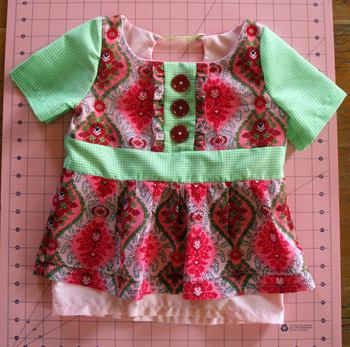
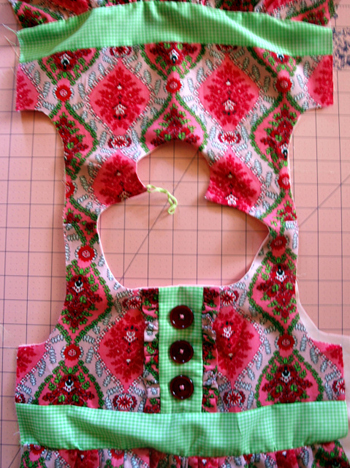
As an example, we will completely finish this baby doll style top without a serger. The same techniques can easily be transferred to any other style of top, skirt, dress or jacket as well.
1. Add a Lining
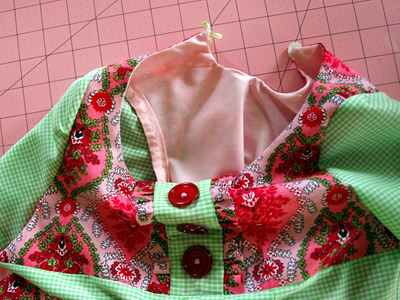
The easiest and best way to finish a garment, in my humble opinion, is by adding a lining. Take a look at all the messy seams on the bodice above. They can all be hidden away without any extra effort just by cutting an extra piece of material and stitching it to the inside. Do this by cutting out your pattern twice (once with outside material and once with lining material) for patterns that don’t come with specific lining pieces.
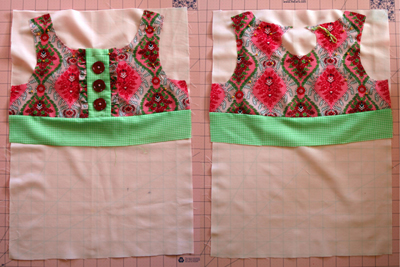
If you want to avoid the extra work or are working on a bodice that uses several pieces, sew your bodice pieces together, then trace the completed bodice onto your lining material and cut out.
Unless you are lining a coat or other item intended for cold weather, I recommend using a very lightweight material or muslin to avoid adding any extra bulk to your garment.
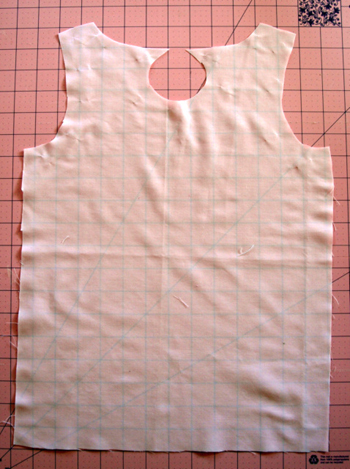
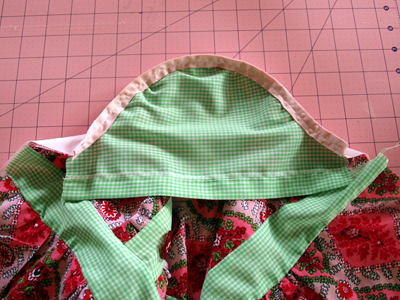
To add the lining, stitch wrong sides together at the neckline. If your garment is sleeveless, stitch together there as well (but don’t stitch shoulder seams first– you will have a difficult time turning the garment back right-side out).
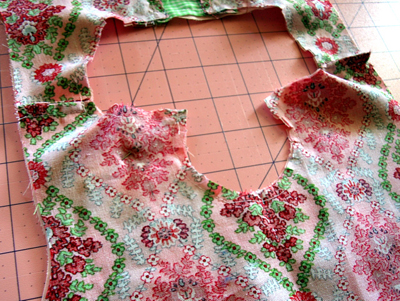
Don’t forget to clip along the curves!
The result is a nice, smooth neckline.
2. Double-Fold Hem
The double-fold hem is one you are probably already familiar with. It works great for finishing edges that can be seen from the outside of the garment like skirt and sleeve hems.
Simply fold over and press, then fold and press once more to hide the raw edge. Make the hem as wide or narrow as you like. Secure the hem with a single, straight topstitch or if you don’t want the hemline visible from the outside of the garment, use a blind-stitch instead.
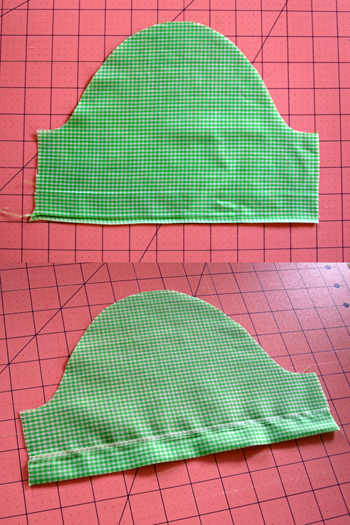
Whenever possible, I like to take advantage of pre-made seams, such as this sleeve cut on the selvedge edge. It saves a step (however small) and a tiny bit of fabric as well. If you are refashioning an item from a preexisting garment, utilize the seams that someone else has already made and save yourself some work.
3. Bias Tape
Finishing the inside of the sleeve can prove to be a bit tricky. The only way I have found to do this is by adding a Hong Kong seam or bias tape binding to the edge where the sleeve meets the bodice.
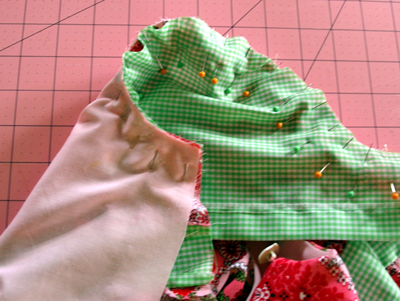
Begin by pinning on your sleeve to the bodice, wrong sides together. Be sure to include the lining in your pinned layers. Stitch to secure using a 1/4″ seam.
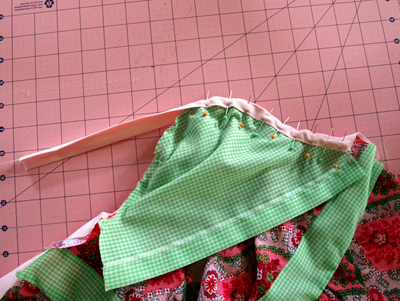
Now pin your binding around the sleeve edge. Use lots of pins to ensure it doesn’t budge.
Stitch on your binding nice and slowly, using the same 1/4″ seam as you used to attach the sleeve.
Now doesn’t that look much nicer than just a raw, pinked edge? Even better than a serged edge if I may say so. Definitely worth the extra bit of effort.
I also want to mention here that if you do not want to use a lining or are just looking for a way to add some extra color and pattern to your garment, adding a bias tape binding around sleeves, necklines and even lower hems is another great and easy way to finish an item without the help of a serger.
4. French Seams
For the insides of your garment– shoulder and side seams– a French seam produces lovely results.
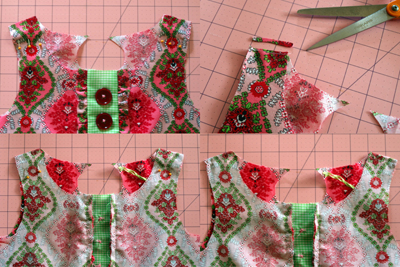
To create this type of seam: Pin wrong sides of fabric together and stitch using a 1/4″ seam. Snip off excess fabric close to the seam line and turn garment inside out with right sides facing and stitch again. This creates a little pocket to keep the raw edges contained within the garment. You can include your lining in a single French seam or you can sew them separately.
This type of seam is difficult with bulky fabric. If you are using a heavy-weight fabric with a lining, tuck the lining into the lower double-fold hem on your skirt, coat bottom, etc., and stitch it closed so there is no opening at the bottom. Then you don’t have to worry about ever seeing those messy side seams!