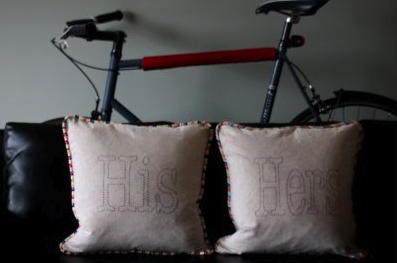
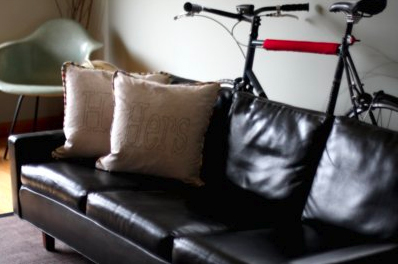
My husband and I have our “own” pillows to lie on when we’re watching TV on the couch. Sometimes we fight over the best one, sometimes not. Well, our last anniversary the gift was linen. I got it in my head that I should make specific pillows for each of us with our names on them so we wouldn’t fight about it: Marriage Saver! (Note: We didn’t really fight– He always made sure I had the best one.)
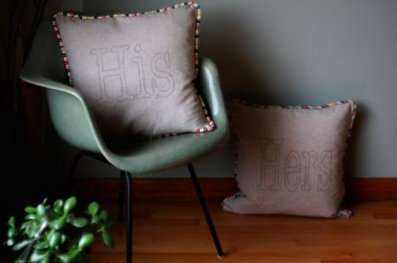
Since I didn’t really want our names, I thought His and Hers pillows would be the way to do it! I also used a little bit wider zipper then what you would normally buy in the packages at your local shop. Sometimes they are called a Sport Zipper, or a lot of vintage zippers are about ¼ inch wider.
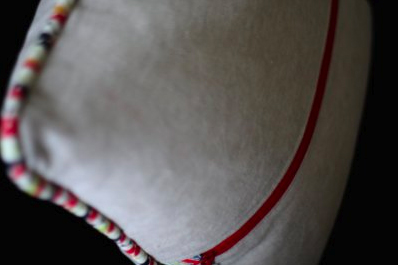
I love the pop of color and extra bit of detail the exposed zipper gives. I hope you enjoy this tutorial. It only takes about a naptime (approx. 2-3 hours) to complete. It’d be a great project for a housewarming, wedding or even for yourself.
Supplies for Two Pillows:
- Image 1 + Image 2
- Water-soluble marking pen
- Embroidery hoop
- Embroidery floss (I used black pearl size 5.)
- Needle for the floss
- Two 20 by 20 inch pillow forms. (I love the ones from Ikea.)
- Two front pieces of linen cut to 20 by 20 inches
- Four back pieces of linen (or your choice) cut to 20 by 10 1/4 inches
- Two 18 inch long zippers
- 81 inches of 12/32 cording/piping found in the home dec section
- 88 by 2 inches of fabric for the piping (I used 44 inches of two different fabrics.)
- A zipper foot or 1/8th inch foot

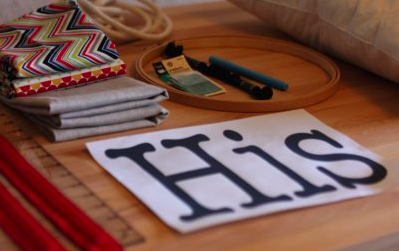
Image 1

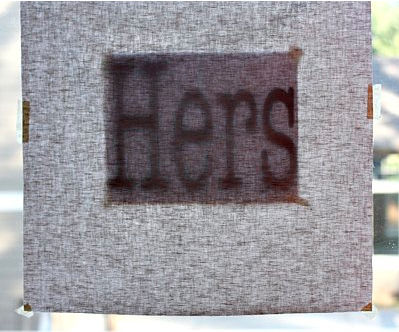
Image 2
Step One
Using your window as a light box, place your text print on the window and fabric over it. You can do this off-centered or centered.
Trace around the letters using your water-soluble pen. Keep in mind the better your lines, the better your stitching will be!
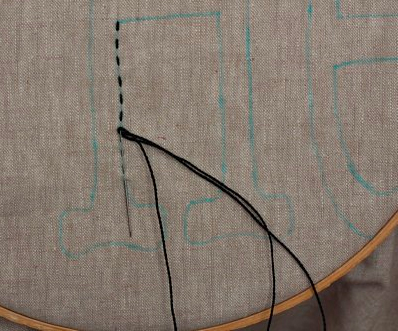
Step Two
Place your fabric in your hoop, thread your needle, tie a knot and use your favorite stitch. I used a small running stitch here. When you are done stitching, spritz with water to remove the marking pen, set aside to dry.
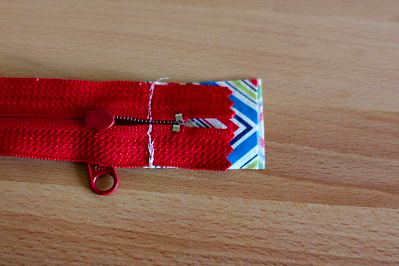
Step Three
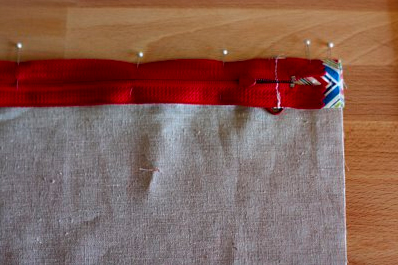
Cut off 2 3.5 inch long pieces from your 88 inch long piping fabric for the zipper tabs. Fold them in half and place them over the top of your un-zipped zipper leaving a ½ inch tail. Stitch in place. Go slow when sewing over the zipper itself. This will now make your zipper 20 inches long. Trim off the sides to match the width of the zipper.
Step Four
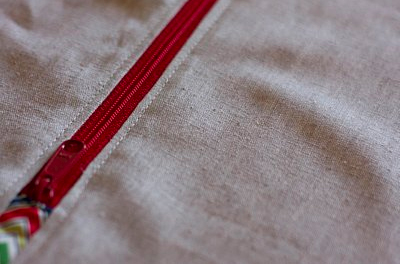
Pin the right side of your zipper to the right side of your pillow back (the 20 by 10 1/4 inch fabric). Using your zipper foot, stitch using ¼ inch seam allowance. You may need to stop with your needle down to move the zipper head out of the way. (Note: There are several ways to attach zippers, this just happens to be the one I like the best!) Flip over your fabric and press it flat. Top stitch. I like to increase my stitch length here just a bit; if my machine is at a 2.5 I increase to a 3.0. Loosening up the stitch length over those layers makes it look nicer. Repeat with the next piece.
Your back piece should now look like this. Set aside.
Step Five
Make your piping. Note the piping you will be using is much larger! I found that it looks the best on such a large pillow.
Step Six
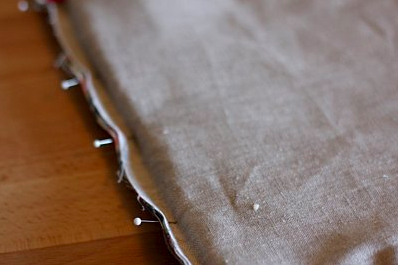
Open your zipper. Pin pin pin. Pin the front of the pillow to the back. Take your time in pinning to help get that piping tight. Again, make sure your zipper is open. You will be really mad if you forget! You might need to go around your piping again after you’ve turned your pillow out to check your seams. With these pillows, I went over them twice.
Step Seven
Turn out, stuff, and enjoy a beautiful new place to rest your head!