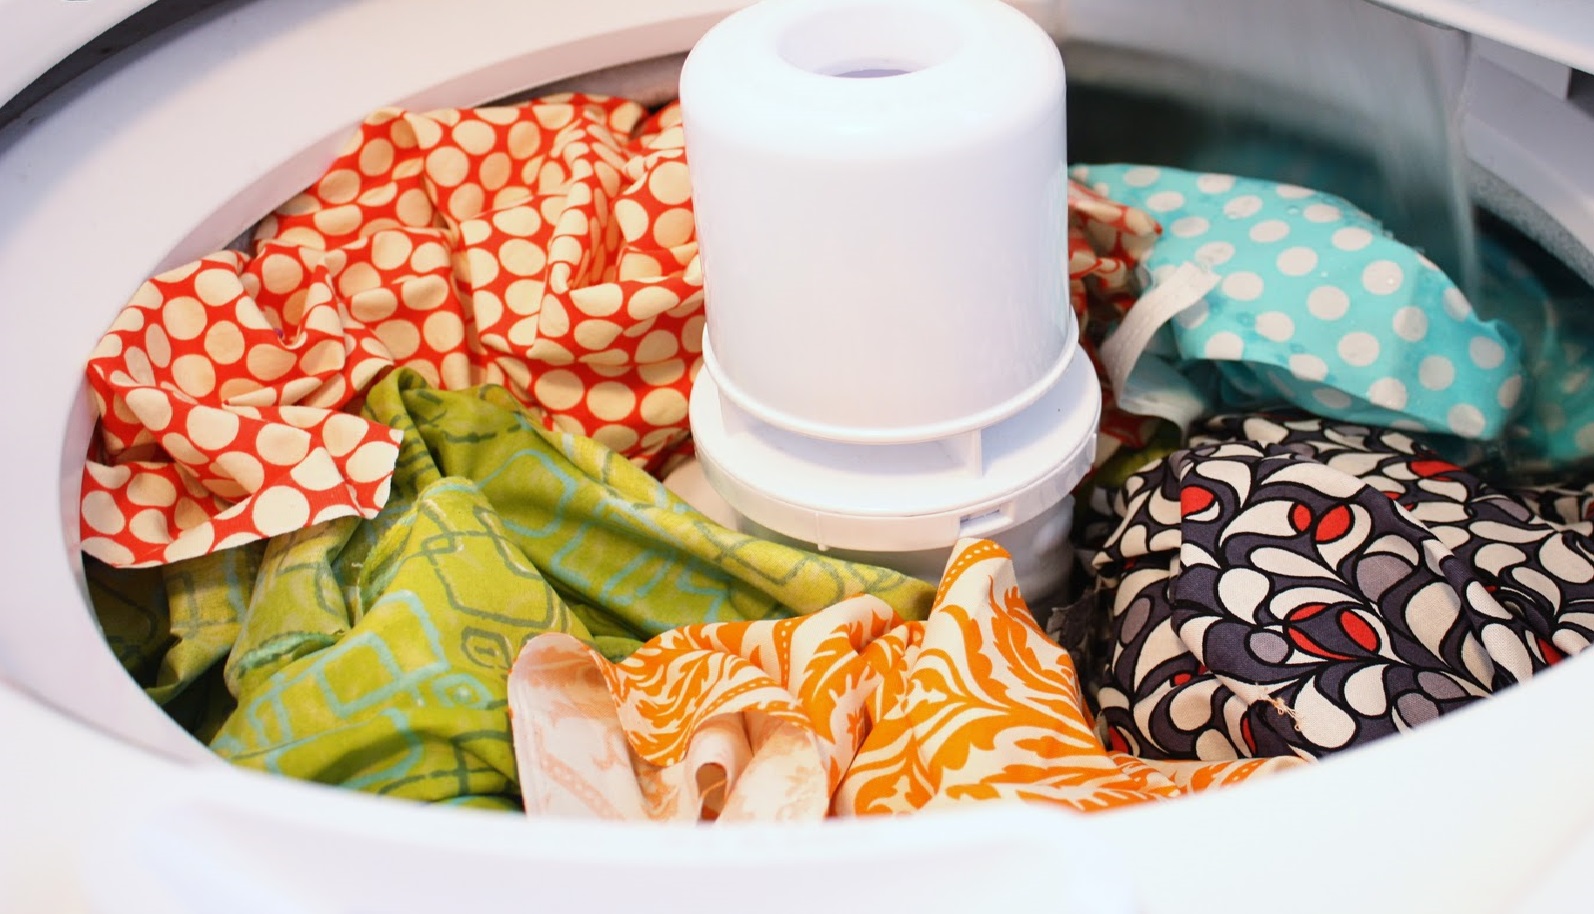
1. Pre-washing Your Fabric
Pre-washing is exactly what it sounds like– Washing your fabric before starting to sew! While you might be excited to get started right away, this is an important first step. Washing your fabric first can help eliminate shrinkage. You don’t want your finished project to shrink after it’s all finished! Pre-washing also removes finishing chemicals which can irritate sensitive skin. And, if your fabric is brightly coloured, pre-washing can remove excess dye and keep it from bleeding or running later on. So before you start cutting, wash and dry your fabric first!
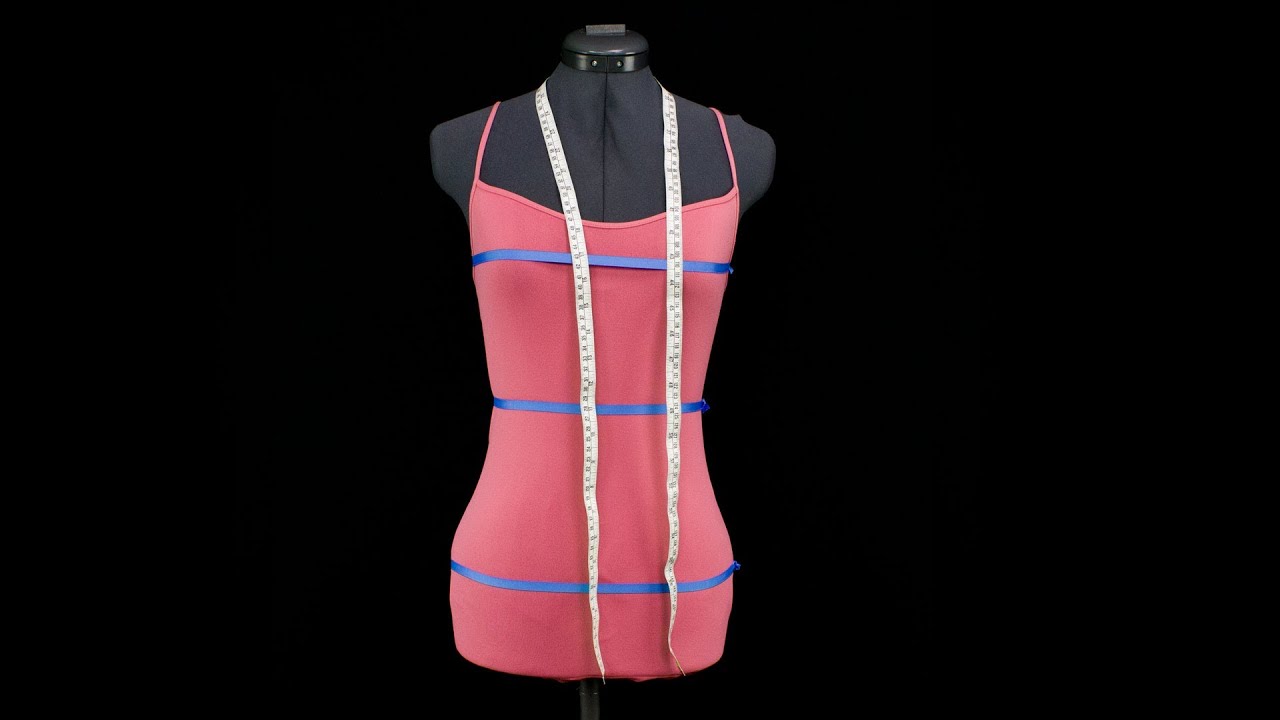
2. Taking Your Measurements
It’s not about your size, it’s all about your measurements! Pattern sizing is often very different from clothing sizing; you may be a size 6 when you shop, but a size 12 according to pattern size charts. Don’t worry about the number, focus instead on taking accurate measurements. Remember to measure your body wearing the undergarments you’ll be wearing under the finished garment. If your dress will be worn with a special bra, put it on before you measure!
3. Pressing
Pressing is what you might think of as ironing. Technically, pressing is exactly what it sounds like– “Pressing” the iron to the fabric and lifting it up in between pressing, rather than sliding it back and forth. Pressing is so important to successful sewing! Not only does pressing help flatten your work, removing puckers and helping the seams to lay flat, but it also ‘sets’ the stitches, melding them into the fibers of the fabric.

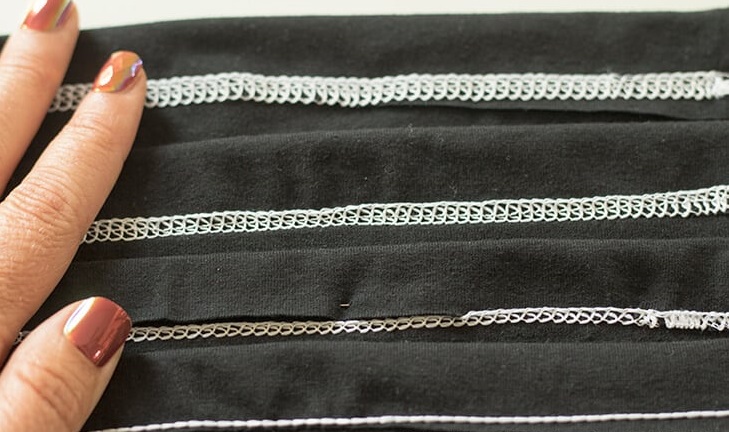
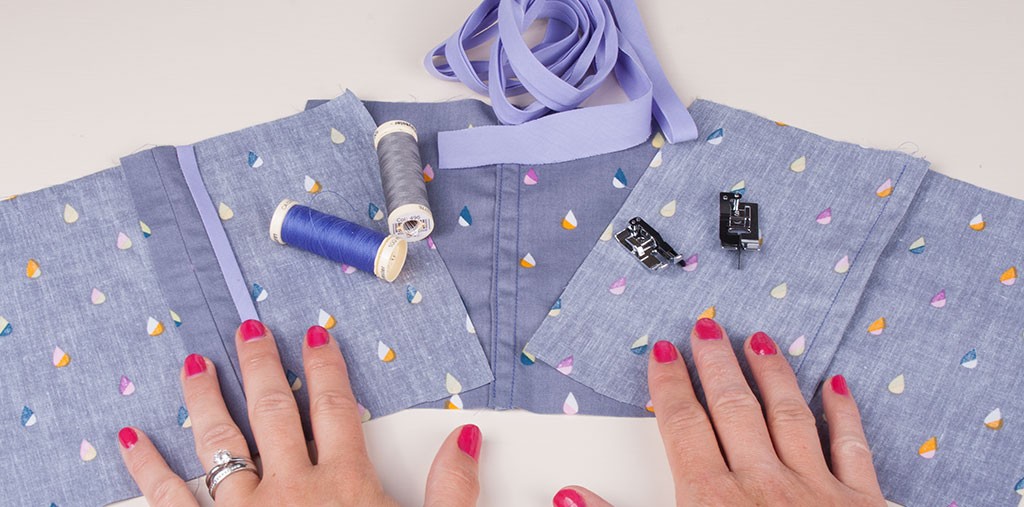
4. Seam Finishing
My mother always told me that my projects should look as nice on the inside as they do on the outside. It’s easy to do if you choose the right seam finish! There are so many ways to finish the inside of your garments, even if you don’t have a serger. You can bind the edges with fabric, and why not use a contrasting colour for fun? Turned-and-stitched seams look just as good as serged seams. French seams are easier than you’d think, too!
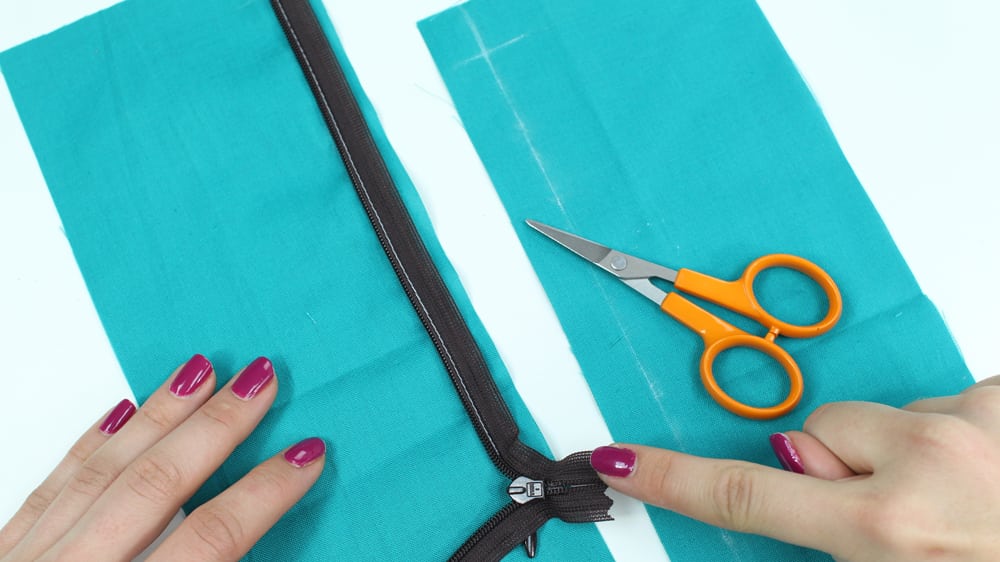
5. Sewing Zippers
Zippers are a fast, efficient and easy closure for your garments! There are two main types of zippers used in home sewing, invisible zippers and regular zippers. Invisible zippers are exactly what they sound like– ‘Invisible’ from the right side of your project. All you’ll be able to see is the tab at the top! Regular zippers are easier to spot and are definitely visible from the outside of your work, but they’re often more durable than invisible zippers and easier to replace. There are many options for inserting a regular zipper: centred, lapped, or even hand-picked! Hand-picked zippers are a special favourite of mine– They’re one of those techniques that looks more complicated than it actually is!
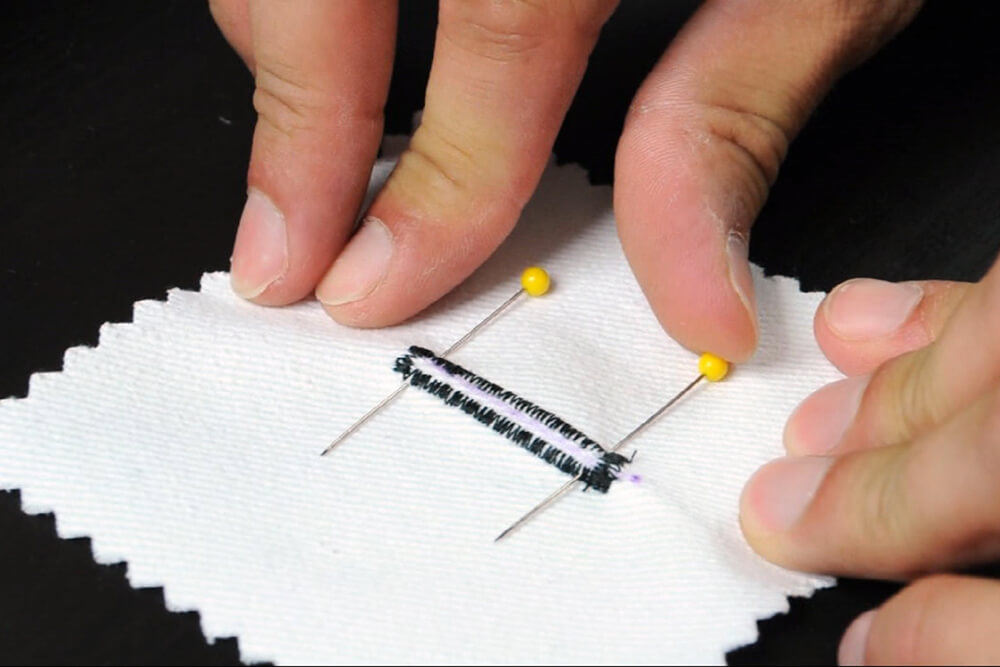
6. Buttons and Buttonholes
A lot of people are afraid of sewing buttonholes– It’s true! Buttonholes are intimidating because they’re often the last step. Your project is just about finished, everything looks great… What if something goes wrong with the buttonhole? Take a deep breath, and keep reading. These tutorials will help you get over your fear of buttonholes! Whether you sew them by machine, by hand or– the ultimate in adventurous buttonholes– the bound buttonhole, the same theory applies. Practice makes perfect! Definitely make at least one test buttonhole before diving in on your actual project. Even if the test buttonhole is flawless, it’s still a good way to practice!
7. Hemming
If you don’t have buttonholes to worry about, then hemming is likely your last sewing step. Like seam finishes, there are many different ways to hem your garments. The simplest way is to turn up the edge of your garment and sew by machine. You can add seam binding for a pop of colour, sew invisibly by hand, or if you’re hemming your lining, add lace trim for a pretty touch!