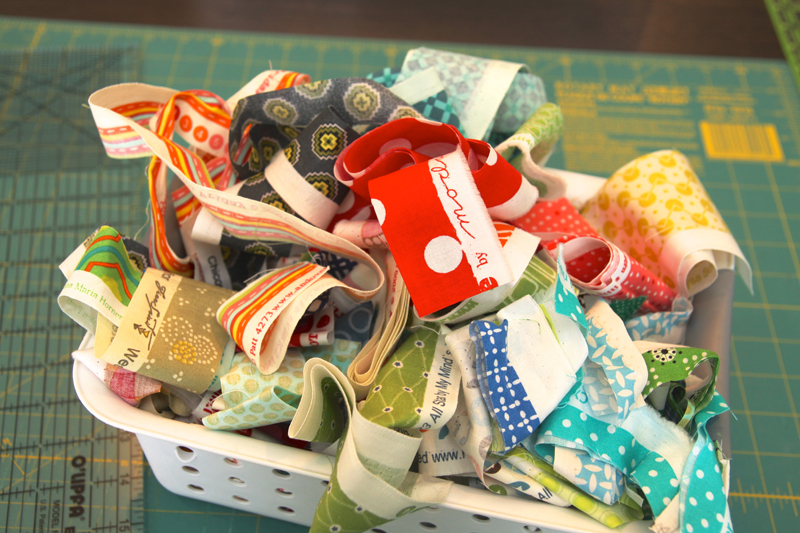
If you’re like me, you might have a small collection of selvages just waiting for the perfect project… Scraps of past projects, each with their own story. Wait no more! I’m showing you three small projects today that are just right for those precious scraps.

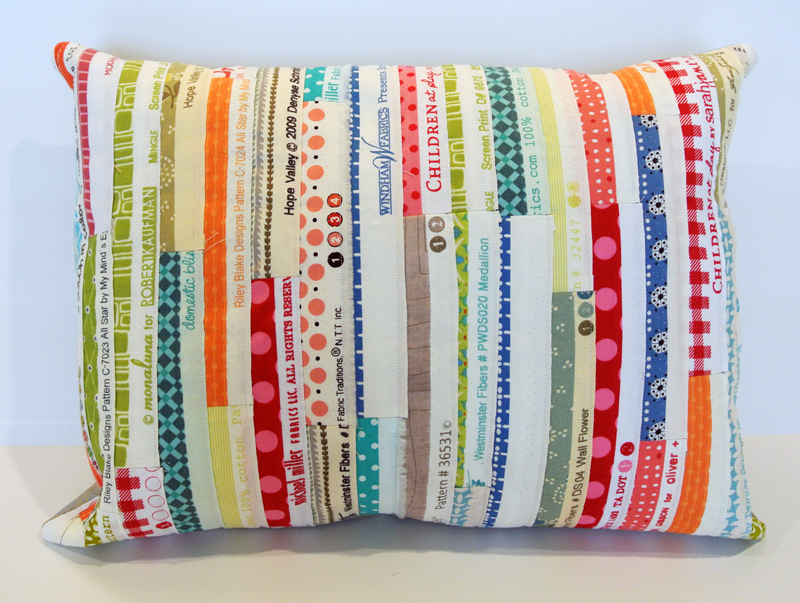
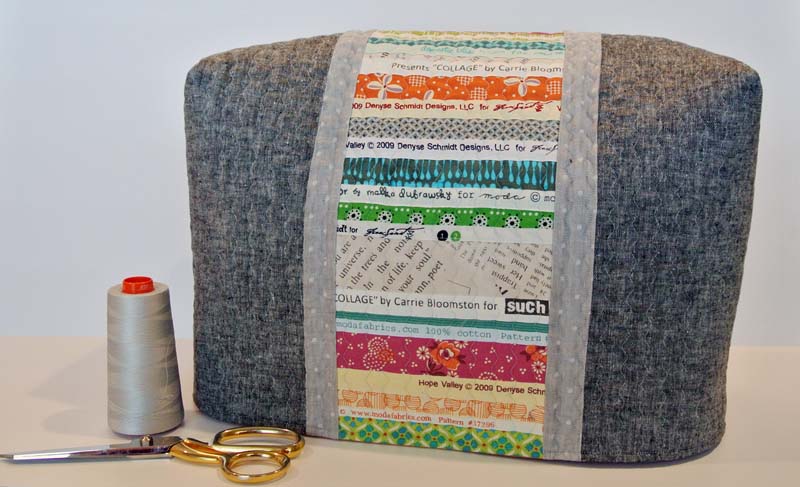
This tutorial will show you how to create your own “fabric” from selvages and a foundation fabric. The same basic technique can be used to make a skirt (shown here), a pillow (in the PDF at the end of the post) and a sewing machine cover (shown below, made with my Cover Up pattern).
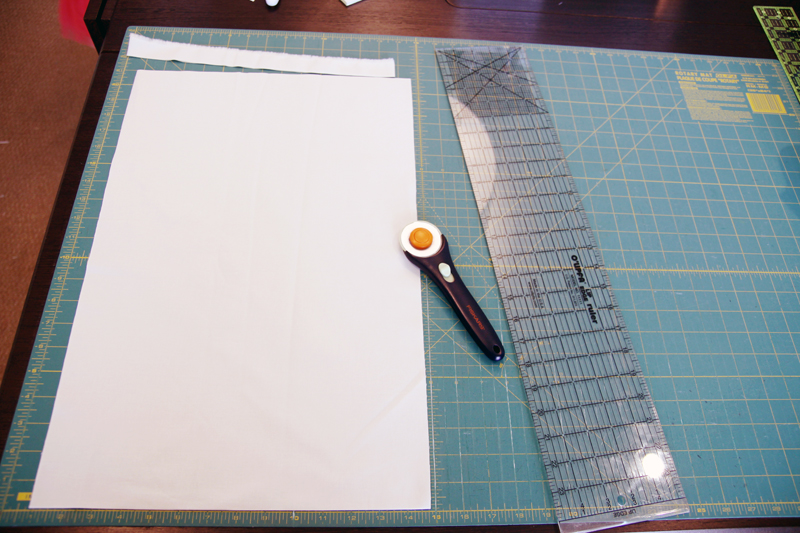
Start by creating your base cloth. The size depends on your intended project. I made a skirt for my daughter, using the Sunday Brunch pattern from Oliver + S. You’ll want some extra fabric to allow plenty of room for cutting.
Using my skirt pattern pieces as a guide, I used Kona Bone cut to 14″ x 42″. Any muslin or light solid will work.
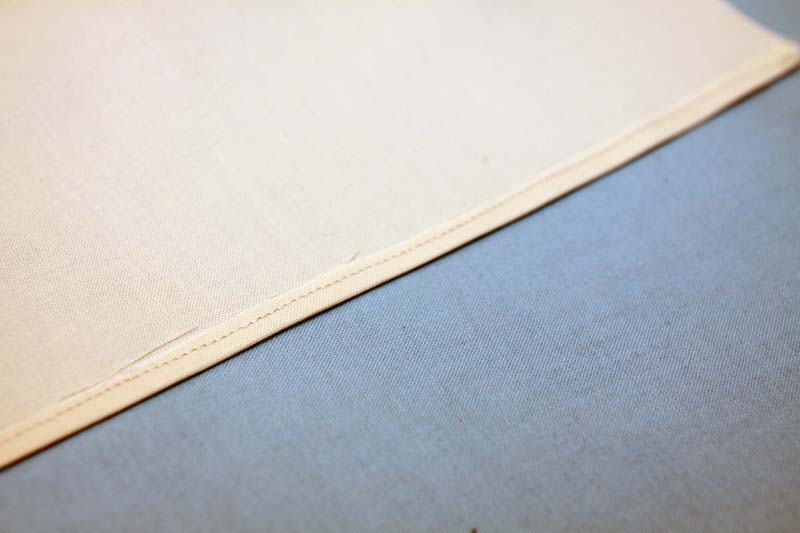
If your project includes a finished edge, like the skirt I made, you’ll need to hem it. To hem, press the bottom edge up 1/4″ and sew, right sides together. It seems odd, but stick with me. Your selvages will eventually cover that raw edge and the wrong side of your project will have a finished look. This is not necessary if making the pillow or sewing machine cover.
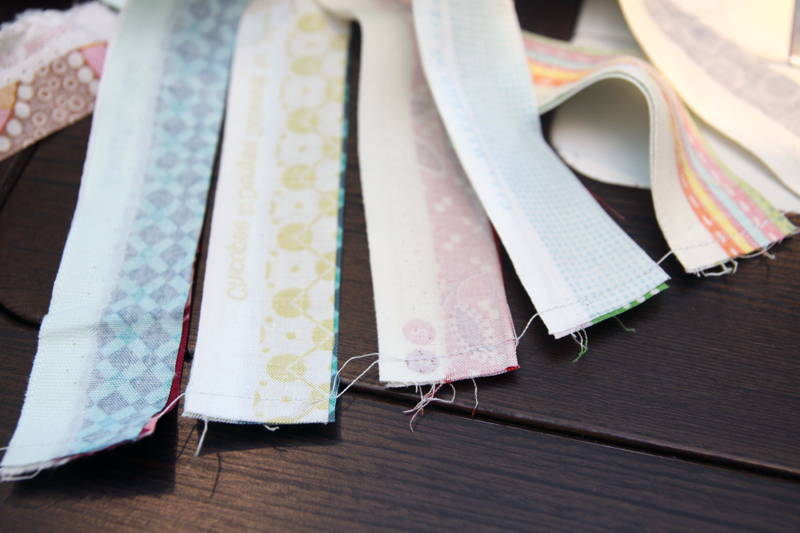
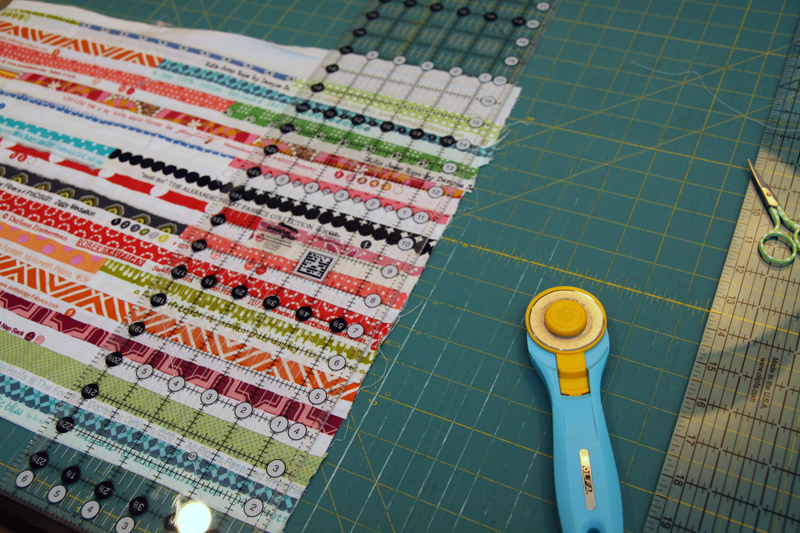
Gather up and iron your favorite selvages.
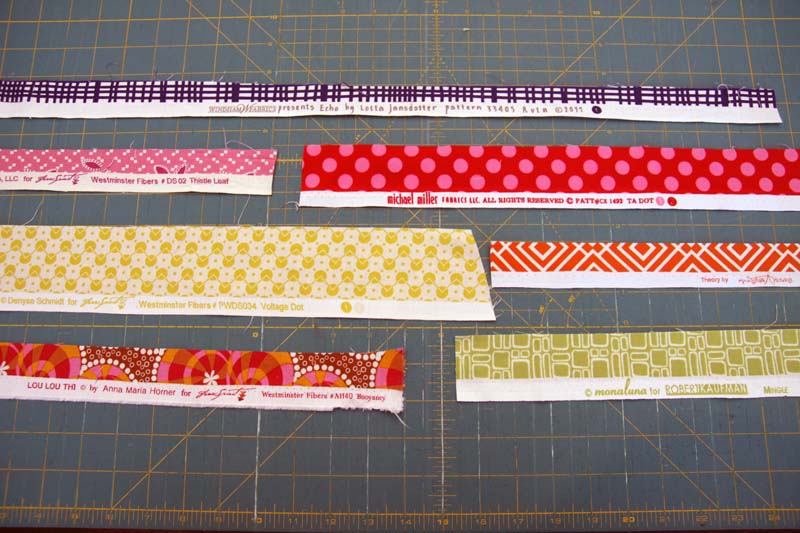
Trim them to the same width. I chose 1 1/4″.

Pair and sew two selvages right sides together, using a 1/4″ seam. Repeat with remaining selvages, creating pairs. Chain stitch here to save time!

Snip threads between pairs. Just as before, pair and sew two selvages right sides together. Continue this process until all scraps form one (very!) long strip of pieced selvage.
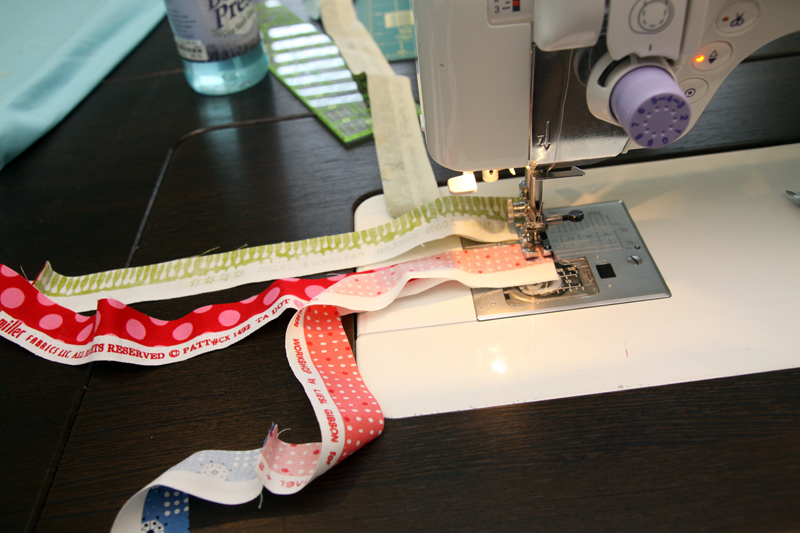
Press all seams open.
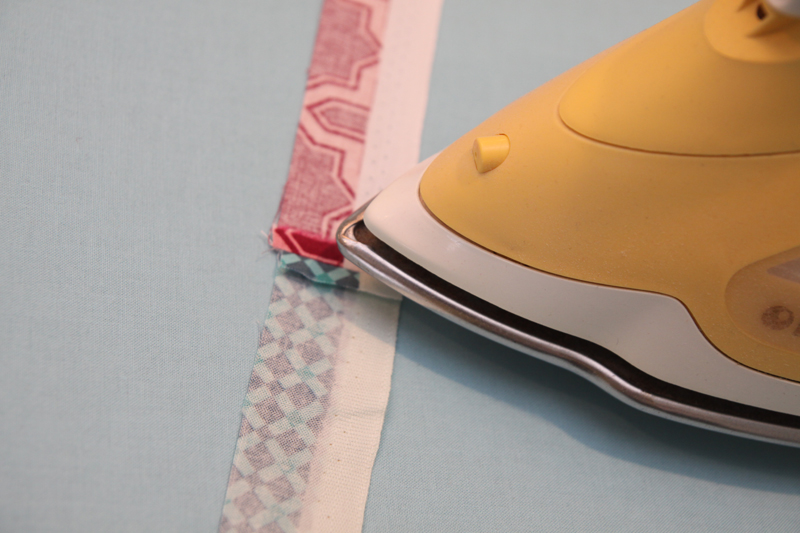
Place one end of your selvage along the bottom edge of your base cloth. Remember that my base is hemmed, because it is a skirt. Edge stitch a along the bottom. Trim your long selvage strip when you reach the end of the base cloth.
Begin a second row of selvage by overlapping just slightly. Carefully sew at the lower edge of your new row, sewing all three layers together: the new row, the previous row and the base cloth. Repeat with each new row.
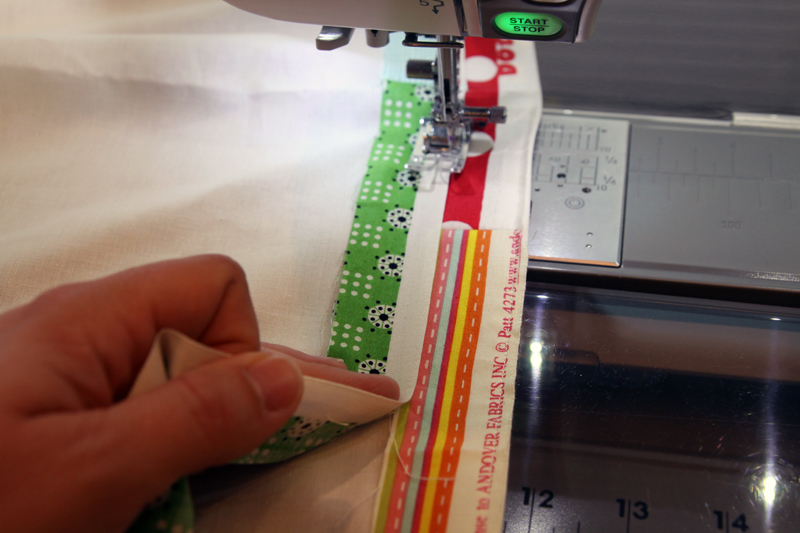
Continue sewing rows until you have a selvage fabric piece large enough for your project. It can now be cut and sewn just like any other fabric.
Note: For the Sunday Brunch Skirt I made for my daughter, I used my selvage fabric for the skirt front and back. Regular quilting cotton was used for the pocket and waistband. Keep in mind that if your project instructions call for any hemming, you’ll need to account for that as you cut your pattern pieces. For example, I’d already hemmed my base cloth, so I found the amount called for in the pattern for hemming and marked and subtracted that from the pattern piece prior to cutting my selvage fabric.
Fun, right? I love seeing snippets of fabrics used in previous projects. As I sewed, I tried to remember where I’d used each of the prints. I’m sure you’ll think of many ways to use your own selvage fabric.
Tips:
- Select projects that don’t need much drape, as the selvage fabric will be fairly stiff.
- Keep an eye on the overlap. You want to be sure everything is sewn down.
- An appliqué presser foot helps to see clearly as you sew the layers together.
- If you don’t like how long one piece of selvage is or how two colors look together, simply trim it before you stitch them down!
- The selvage strip is easy to change. Just follow the same steps used to make it in the first place.