We are here today to share with you a few tips on how to combine sewing woven fabric with knit fabric.
We have really enjoyed experimenting with special touches in our custom clothing line, and the patterns we’ve created for this fall reflect that whimsical and adventurous nature. Our patterns aim to reduce the intimidation many seamsters may feel toward knits. Surprising to some, our sewing with knit patterns don’t require any special equipment, like a serger or overlock machine. Most importantly, sewing with knits and combining them with woven fabric is FUN to make and can add just the right touch to your garment.
Simple Tips for Embellishing Knits
Here are a few simple yet important tips to avoid frustration when adding embellishments to knits:
- Stabilize really stretchy knits. You can achieve this by stay stitching curvy edges inside the seam allowance, or fusing a thin, lightweight strip of interfacing to the edges most likely to stretch.
- At important junctures, pin more than you normally would. Even while pinning, be sure to handle the knit as little as possible.
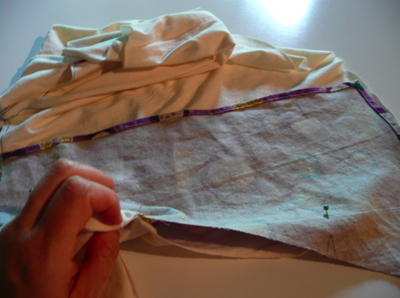
- Work with, not against, the power of the feed dogs when combining fabric types. Use stable woven fabrics on top and stretchy knits on the feed dog side. The feed dogs naturally pull the fabric forward, and in doing so take up any slack you might have from pinning and handling.
- Practice always make perfect.
- Probably most important: Keep as much of your work as possible on top of the table where you are sewing, not hanging off the edge. (Ask me how many necklines I’ve destroyed by drooping the rest of a t-shirt onto my lap!)

Examples of Knit Embellishment
Bearing our initial tips in mind, let’s move on to some examples of embellishments with (and on) knits!:
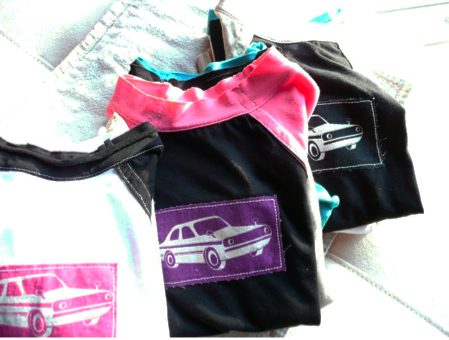
Appliqué Woven Fabrics onto Knits: Save your scraps! Sometimes the coolest appliqués can be found in your own scrap bin. We especially love Japanese fabrics for this purpose. Not only is this a way to get the most value from your purchase, but I just love the prints and the texture of linen/canvas blend.
To make this yourself, select a scrap of fabric for your patch. Grab some double-sided fusible web and remove one of the protective sheets to expose a sticky side. Press to the WRONG side of your scrap and then trim to the desired size and shape. After you have your patch made, remove the other protective sheet to expose the second sticky side and place in the desired location on the shirt. Blast it onto your shirt with a steamy hot iron (according to package instructions, naturally!) and you’re ready to finish. You can use any stitch to attach the patch, but I like a bold straight stitch, or an even zigzag. Mix it up with contrasting thread!
Ruffles:
If you allow toddler input when creating garments for your little ones, what can you do about inevitable ruffle requests? It’s very simple to use a woven ruffle trim on knit pants, and can be just the right detail to bring an outfit together.
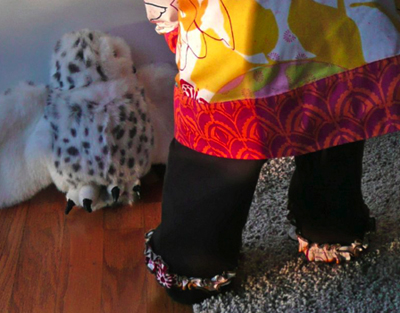
To achieve this, simply measure the circumference of a pant leg where you’d like to attach a ruffle. Cut a woven strip 2-3 times that length, in the width you like and finish the raw, long edges. WRONG sides together, match the short edges and sew the strip into a circle. Gather using a long basting stitch down the lengthwise center of the strip. Next, tack the seam to the inside leg seam (with hand stitching, a pin, or a bar-tack on your machine) and pull the gathering stitches to fit. Pin the ruffle in place and attach by sewing a zigzag stitch over the basting stitches around the pant leg. Remove the basting stitches and you’re done. Another option is to make a knit ruffle on knit pants– No edge finishes necessary!
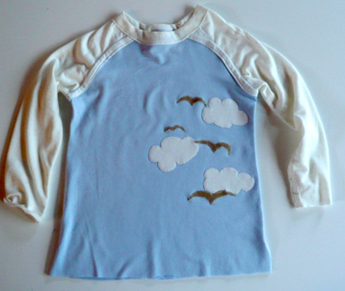
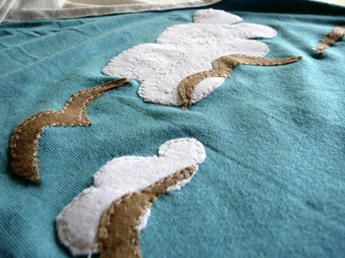
Migration Tee by One Girl/Boy Circus, Karen LePage
Appliqué Knits onto Knits:
You’ll be surprised by how simple it is to appliqué knit onto knit. You may never throw away a stained shirt again, once you discover the easiest way to save one.
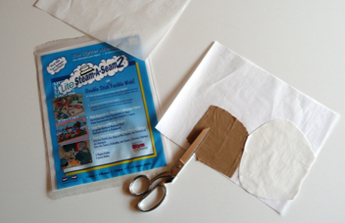
Gather your supplies:
- Scraps from all the t-shirts you have been making, or pieces of old t-shirts begging for a purpose.
- A knit garment or a garment that needs an embellishment.
- Lightweight fusible web
- Marker or pen
- Sharp scissors
- Ballpoint needle and coordinating or contrasting thread for your machine.
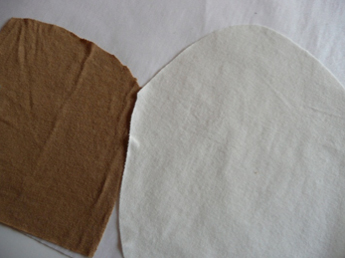
1. Remove the backing from the fusible web and stick on your scraps.
2. Cut away excess fusible and save for another project.
3. Using your marker or pen, draw shapes on the paper side of the scrap you have prepared. For best results, wait for the ink to dry.

4. Cut the shapes into individual pieces, leaving them attached to the paper backing.


5. Remove the paper backing and arrange how you’d like on the garment. The shapes won’t stick permanently until you press them with an iron, so rearrange until you’re happy. Press in place.

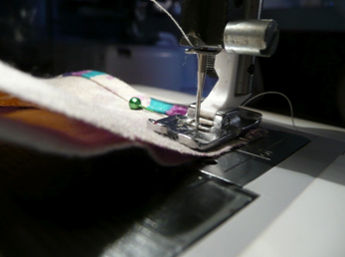
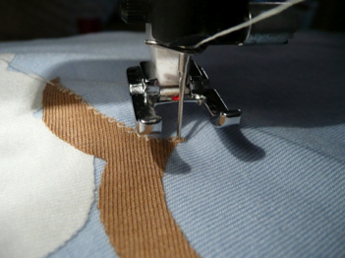
6. Set your machine to an even zigzag stitch, I like 1.5 long and 1.5 wide for these little shapes. This way, your stitch will stretch with the knits. Also, adjust the presser foot tension to lighter than normal, so you can guide the fabric easily without stretching too much as you go.
7. Start stitching.
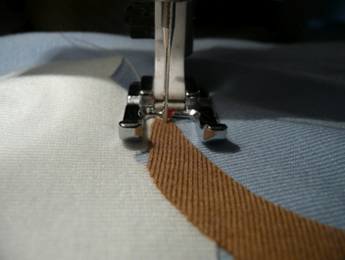
When you reach a point, leave your needle in the fabric, lift your presser foot, and pivot.
That’s it! Your garment can be washed and worn as usual.
I hope you’ve enjoyed our tutorial, and we look forward to seeing many examples of embellished knits in the coming seasons!