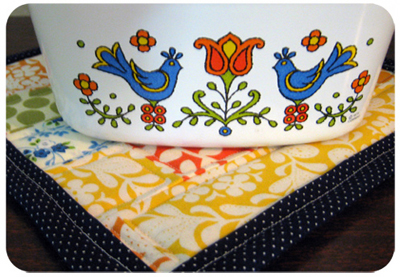
Something small can infuse new color and cheer into your home. Start Sewing for the Home with these great hot pads! This tutorial was created by Bean from Coyote Craft.
Materials:
- A selection of your favorite cotton scraps, cut into 2.5″ strips of any length– totaling about 100 inches or 3 yards
- Coordinating cotton scrap for backing, measuring 9″ x 18″
- Insul-Bright™ heat resistant batting, measuring 9″ x 18″
- Warm & Natural™ cotton batting, measuring 9″ x 18″
- 3 yards of 1/2″ double fold binding, handmade or purchased
- Scissors
- Yard stick or ruler
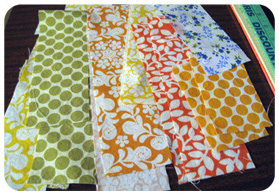
1. With a 1/2″ seam, sew scraps together randomly along their 2.5″ edge. Make a total of 5 scrap strips 18″ long and 2.5″ wide. Press open all seams.
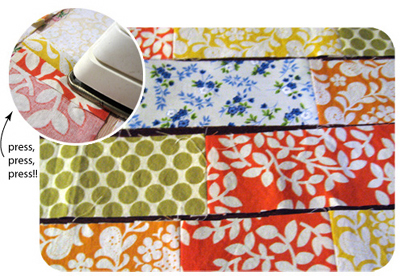
2. With right sides facing, stitch each strip to the next along the 18″ edge. Press open all long seams.
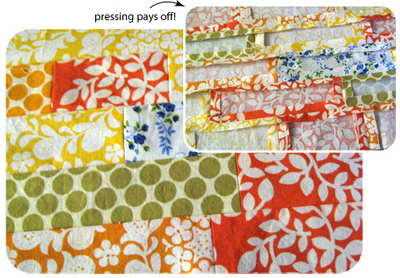
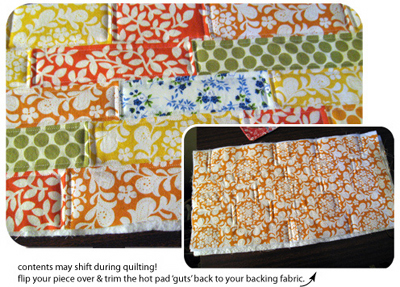
3. Make a quilt sandwich. Line up, layer & pin together backing fabric (face down), Insul-bright, cotton batting & your patchwork piece. Starting from the center-most patch, sew an interior border about 1/8″ from the edge of each patch. I like to let my machine do the measuring for me (see below.)

4. You should end up with a pretty quilted rectangle, measuring 9″ x 18″. Don’t worry if your edges aren’t completely straight, just flip the piece over and trim, using your backing fabric for a guide.
5. Grab your measuring stick, and mark a half-way point on your long edge. Cut your quilted piece in half, creating two 9″ squares. If your squares aren’t 9″ on each edge, no worries! Measure & trim. (If any of your edges end up shorter than 9″, just trim all edges to that smaller measurement to make them square.)

6. Apply your binding, starting at the corner where you’d like your hot pad to hang from. To complete your fourth side, make sure the binding where you started is folded back but NOT around the hot pad. In the photo below, the ironed edge of your binding and the edge of the hot pad are marked with a red line. Mark 1/8″ from this edge with a pin– this is where you’ll stop stitching. Cut binding tape 5″ from the edge of hot pad, this will become your loop.
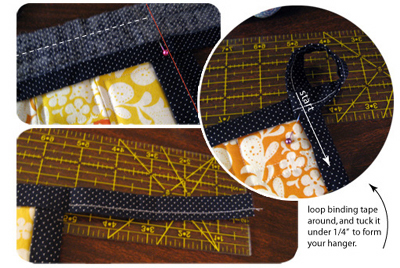
Fold all binding tape around to the back side, and pin in place on corners and where you feel necessary. Starting 1/8″ from the edge of your hot pad, stitch binding tail closed. Loop it around, and tuck the end of it into itself, right below where you started stitching the tail closed. Pin in place, and finish binding with a 1/8″ seam all the way around, starting in the direction indicated by the white arrow above. Repeat for second hot pad.
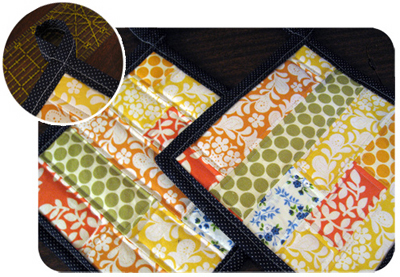
Good job, you’re done! Experiment with different shapes & sizes next time– wouldn’t it be fun to have a set in tonal prints, cut into fruit shapes & trimmed in linen?