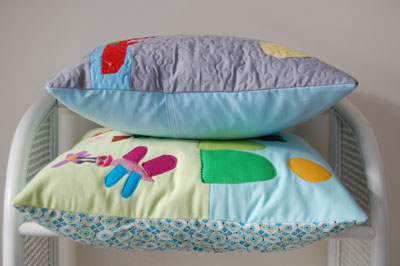
Kate Conklin is here today to show you how to make these fantastic pillows (or cushions) with kids. Kate sells PDF Quilt Patterns in her shop, and her blog is full of lots of gorgeous quilts and more
These cushions are a great way to get younger children involved in a sewing project (without them sewing), preserve their artwork, and create something both beautiful and functional for their bedrooms. In this tutorial I’ll outline the general process for creating these cushion covers – This is not a precise pattern. Some children will need more direction than others but, in general, just let your child create their own masterpiece and have some fun. You’ll be amazed at what your child can do!
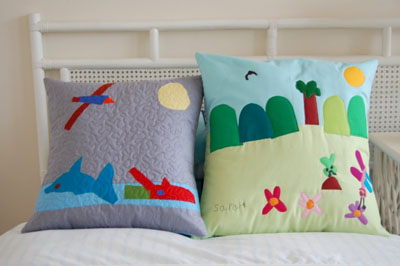
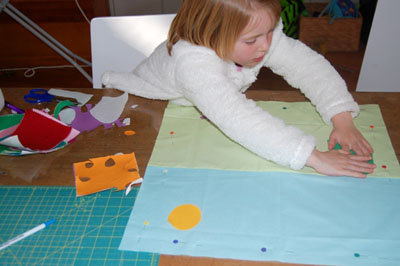
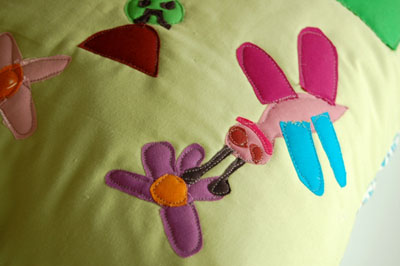
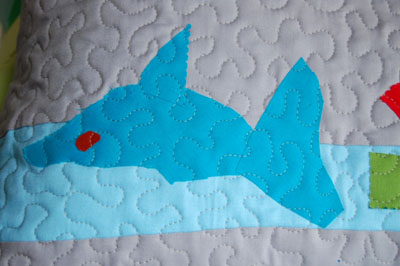
The grey cushion (made by my 3 year old son) is 18″ square and the blue/green cushion (by my 5 year old daughter) is 20″ square. I will give directions for the 20″ cushion, but it is easy to adapt the instructions to your desired size cushion.
Materials for the 20″ Cushion:
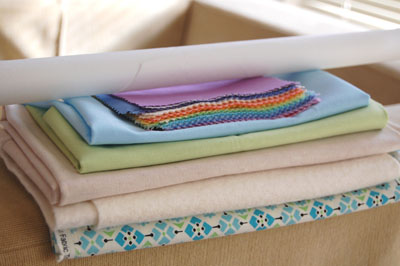
- 20½” square of solid fabric for background. You can use one piece of fabric for the background or piece a couple of different fabrics together as I have. I used a 9″ x 20½” rectangle of pale blue fabric and a 12″ x 20½” rectangle of pale green fabric.
- Approximately 12 – 5″ squares of solid fabric for the appliqué. I let my children pick fabrics from a stack of Kona Cotton Solid charm squares, but you could just as easily use scraps of fabric from your stash. You don’t need 12 different fabrics and they don’t need to be 5″ square; just ensure there is a good selection of fabrics for your child to work with.Note: I let my children pick out the fabrics for the background and the appliqué. I stuck to solids so that their artwork would be the star of the show, and I thought that if there were pictures on the fabric my children would just want to cut them out instead of creating their own shapes and pictures.
- Double-sided, iron-on adhesive with a paper backing (also known as fusible web: Vliesofix, Heat ‘n’Bond, Wonder Under)
- 24″ square of batting fabric
- 24″ square of muslin for the back of the cushion top (this won’t be seen)
- Two 14″ x 20½” rectangles of fabric for the envelope style cushion back (I used patterned fabric)
- Pencil
- Craft Scissors
- Darning foot for free hand quilting
- Neutral thread for piecing and quilting
- 20″ cushion insert
Now, let’s get started:
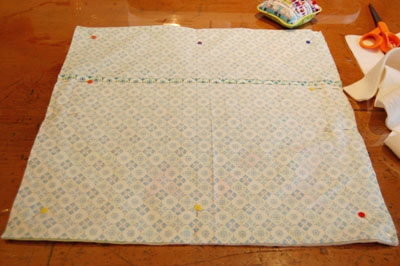
If you are using a couple of fabrics for your background, piece them together along their long edge making sure the background measures 20½” square.
Placed the double-sided adhesive (paper side down) on your ironing board and lay the squares of fabric on top (right side up).
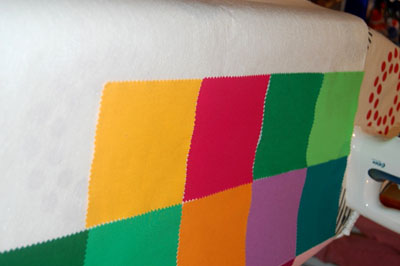
To protect my iron I placed baking paper over the top as I ironed.
I then cut all of the squares apart, leaving the paper on the back of the fabric.

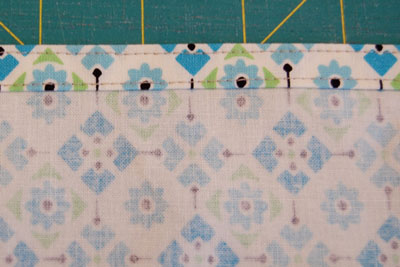
Pin around the edges of the cushion top (about an inch inside the edge) to stop your child from placing their shapes too close to the edge as these will get lost in the seam allowance.
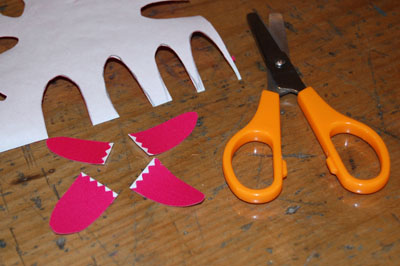
Give your child some craft scissors (sharpish, but not fabric scissors) and let them go crazy cutting out shapes.
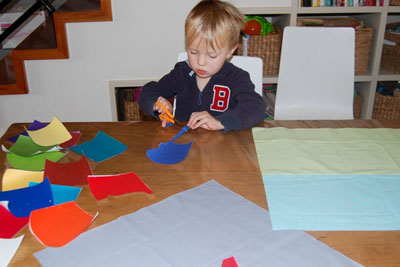
The paper on the back provides some stability for the fabric so it’s easy to cut. They may like to draw the shapes on the paper before cutting them out.
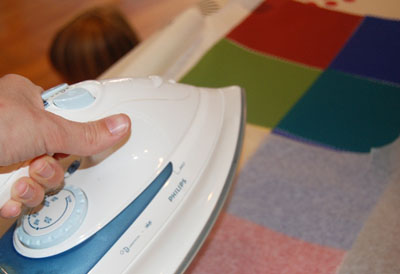
Once the shapes are cut out, help your child remove the paper from the backs of the fabric and they can position them on the background (right side up.) You can then iron the fabric shapes in place. You may even like to place a towel on the table under your child’s work so that you don’t have to move the fabric to iron it– Just iron it right there on the table!

I generally waited for them to finish a section of the picture before ironing the fabric in place.
Sarah knew exactly what she wanted her cushion to look like and didn’t want any help, whereas Dane needed a bit of direction. He cut out some shapes (some random and some representative) and then I helped him to arrange them into a picture scene. I encouraged both children to cut out shapes that weren’t too small so they would stay in place when quilted.
Once they were happy with their picture, it was time for them to hand it over for quilting.
To quilt the cushion tops I taped down a square of muslin fabric, a square of cotton batting (both a couple of inches bigger than the cushion top) and then the cushion top right side up. I pinned it all a few inches apart.

There are many options for quilting the cushion tops: around the shapes, an all-over design or both. For Sarah’s cushion I used a darning foot and grey thread to free hand quilt around each of the appliquéd shapes, making sure I caught all of the shapes with some stitches. Start with a few stitches in one spot and then “draw” with your thread around the edge of each shape. End with a few stitches in the one spot. I didn’t try to make it perfect as I was going for the scribbly look, in keeping with a child’s artwork. You may like to sew around the shapes two or three times. Sarah didn’t want me to quilt the background.
For Dane’s I quilted a meandering pattern all over the cushion top, making sure I sewed over all of the shapes. I think organic straight line quilting would look great too. To make the shapes extra secure you could sew around the shapes before quilting all over it.
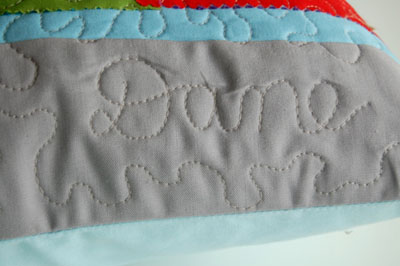
I even tried freehand sewing his name in the corner.
Once you have finished quilting the cushion top, you may like to sew 1/8″ around the edge to keep it all together.

Trim to 20½” square.
Depending on the age and ability of your child you may like to get them involved in sewing the cushion together. To make the envelope style cushion back, take your 14″ x 20½” rectangles and hem each one along one of their long edges. To do this I folded over the long edge ½” and ironed, then folded it over again and ironed.
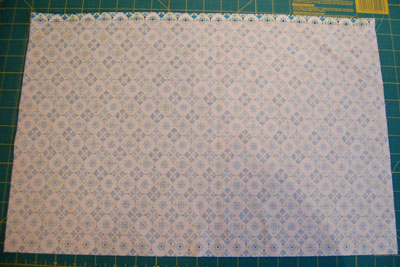
Sew in place along the top and bottom edge.
Position the quilted cushion top right side up, and the hemmed rectangles, overlapping, right sides facing down. Both hemmed edges should be positioned horizontally across the middle of the cushion (a few inches apart). Pin in place ensuring that the edges all line up.
Sew all the way around the outside edges, reversing and sewing over where the hemmed edges meet the sides a few times to reinforce them. I double sewed around the edge to make it stronger, as this was a child’s cushion.

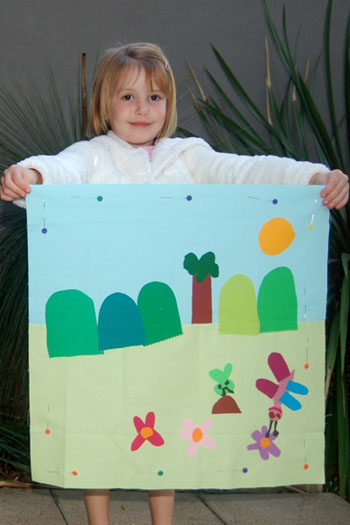
Trim the corners, turn it right side out, and iron. Finally, fill with the 20″ cushion insert and you’re done.
Your kids will be so pleased with their accomplishment. I know mine were!