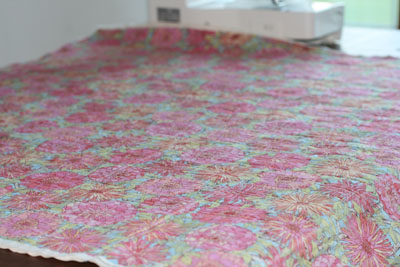
Whole Cloth Quilts are perfect for special fabrics you can’t bear to cut apart. They’re fun to make and this project is a great way to practice your machine quilting. Today Gretchen shows you her favorite way to make a Whole Cloth baby quilt.
This quilt is perfect for:
- A durable and practical baby gift.
- Fabric that is just too beautiful to cut into pieces.
- A first time machine-quilter.
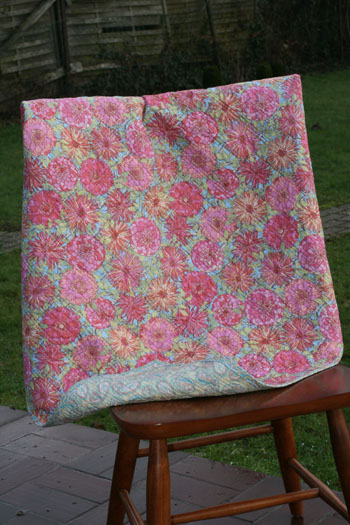
It is a baby-size quilt made from two whole pieces of cloth. Straight line quilting is done in a plaid pattern with three different colors of stitching. There is no cutting or piecing, and every bit of the fabric will be used!
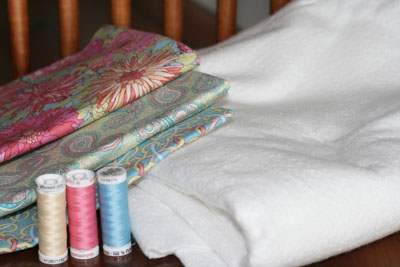
Supplies:
- 2 pieces, 1 ¼ yards (45” by 45”) cotton quilting fabric
- ½ yard fabric for binding
- 3 spools coordinating thread
- Batting, 45” x 45” (I like Warm and White)
- Marking pencil or tailor’s chalk
- Sewing machine (I use a standard foot; I’d imagine that a walking foot could also be used but I don’t have one.)
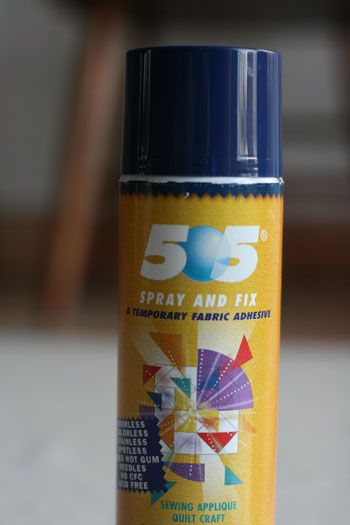
- Optional: 505 Spray and Fix temporary adhesive
Directions:
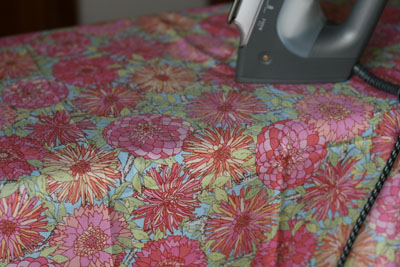
1. Iron the main pieces of fabric. Don’t be overzealous; that center fold will come in handy so don’t work too hard to press that out. Note: I do not pre-wash my fabric.
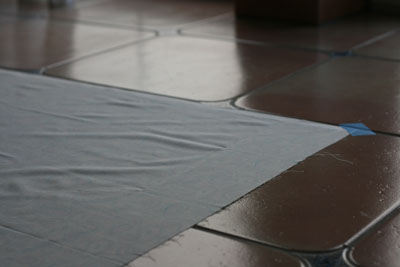
2. Make a quilt “sandwich.”
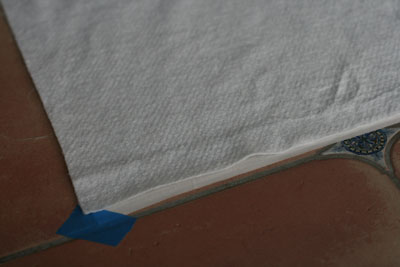
a. This is where tile floors come in very handy for making sure the fabric is square! Take the bottom piece of fabric, right side down, and lay it on the floor. It’s helpful to line it up with the lines in the tile. It is also helpful to tape down the corners with blue (low-tack) masking tape so it does not shift.
b. Spray the fabric with the 505 spray. This spray is great for holding fabric in place temporarily without pins. Many of my sewing machine needles have been saved by this spray!
c. Lay the batting on top of the bottom fabric, being sure to smooth out any wrinkles, and match up the edges.
d. Spray the batting with the 505 spray, and lay the top fabric down right side up, matching up the edges and smoothing out the wrinkles so it lays flat. (Alternatively, use safety pins to pin the quilt pieces together.)
3. Mark the quilt for the basic quilt grid, starting with the horizontal lines (these are parallel to the selvage edges).
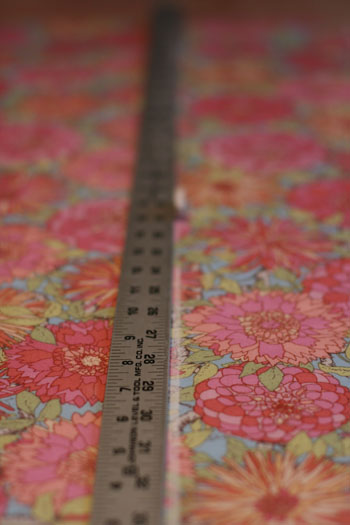
a. Use the center fold as a guide. Use a yardstick to measure 6” intervals from this center line in four different places. Use the marking pencil or chalk to mark these spots. Then use the yardstick to “connect the dots” to create lines the full width of the fabric, parallel to each other and 6” apart.

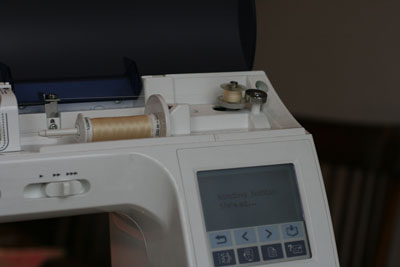
4. Fill the bobbin with the first color of thread. This thread will be used for the most quilting so keep that in consideration when choosing.
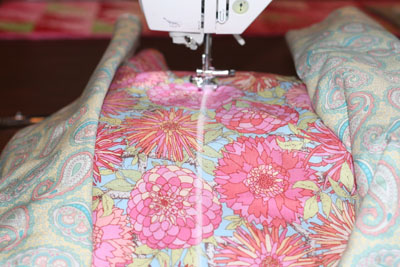
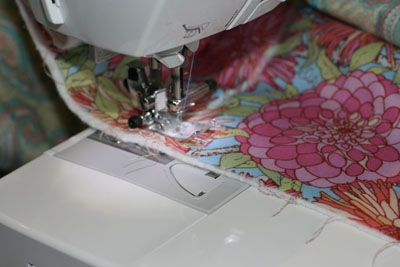
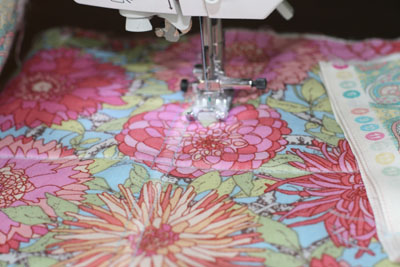
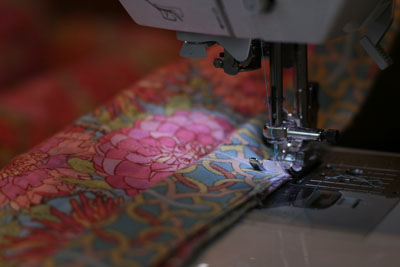
5. Begin in the center and roll up the sides of the quilt to keep them out of the way. With the sewing machine (set the stitch length for 8 stitches per inch) sew the full length of the fabric.

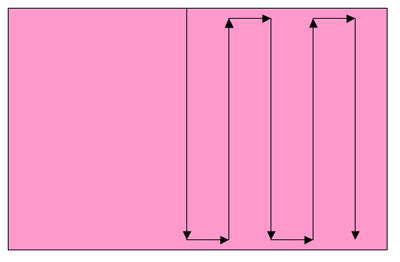
a. Approximately 2 inches from the end leave the needle in and raise the presser foot to pivot the fabric 90 degrees.
Put the presser foot down and sew along the edge of the fabric until the next marked line; pivot again and sew the width of the fabric again. Repeat until all horizontal lines to the right of the center have been sewn (see diagram).
The edges of the fabric may begin to resemble a subway map but that is okay! Some of this will be trimmed off at the end; otherwise it just adds character.
b. When you’ve reached the end, cut the thread and reposition the quilt to sew the remainder of the horizontal lines to the left of the center.
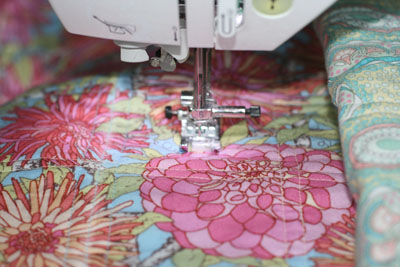
6. Using a ruler and a marking pencil, mark vertical lines (from selvage edge to selvage edge) which are 6 inches apart and are perpendicular to those already sewn. Following the same technique as described in Step 5, sew these lines.

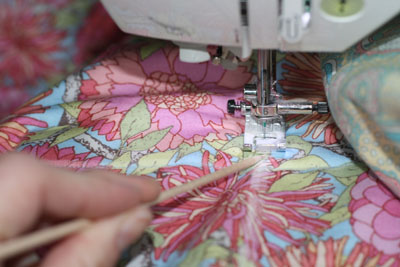
Use caution whenever crossing a horizontal line! Be sure to keep the fabric from puckering or getting sewn over the top of the stitching! To do this I use a bamboo skewer (which is a frugal substitute for a stiletto) to hold the fabric in place at the intersections.
7. When the basic grid has been quilted, continue with the same color of thread. Sew another line parallel to the existing stitching and approximately ¼” away (use marks on the presser foot as a guide). At the end of the line leave the needle in, lift the presser foot, rotate the quilt 90 degrees and stitch approximately ½ inch. Pivot the quilt again to stitch a third line of stitching, ¼” on the opposite side of the original line.
8. Continue this so that the grid consists of three lines of stitching for every grid line.
9. Load the bobbin with the second color of thread.
10. Use a marking pencil to mark the half way point between the first grid lines.
11. Begin with the horizontal lines: With the needle in the left position, place the presser foot at the halfway point between the first grid lines. Sew in a straight line, staying in the middle, until reaching the end of the fabric. Pivot the quilt, sew ¼ inch, and pivot again to sew back to the starting position, stitching parallel to the first line of sewing. At the top, turn the quilt to sew along the edge until the midway point of the next row, and do the same thing. I do not mark the lines prior to sewing. If my lines are a little bit wonky, I chalk it up to the charm of a homemade quilt.
12. Repeat this for the vertical lines.
13. Load the bobbin with the third color of thread.
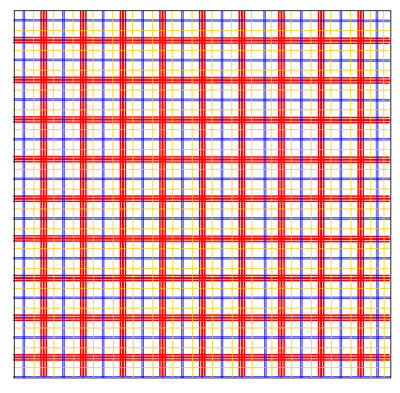
14. Move the needle to the center position. Start with the horizontal rows and sew a single line of stitching between every row and column, bisecting the space between the rows. Again, eyeballing this is fine; it doesn’t have to be perfect. After completing the horizontal rows, do the same for the vertical.
Refer to the diagram to see what the final quilting pattern should look like.
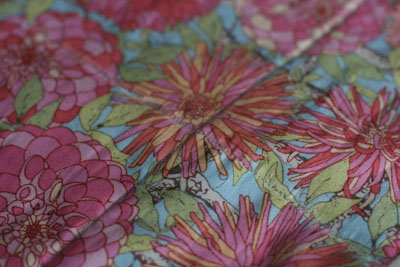
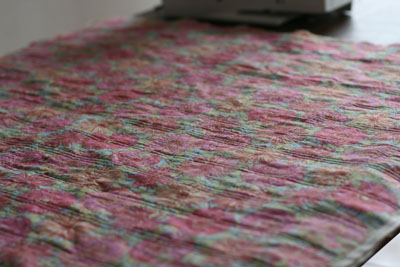
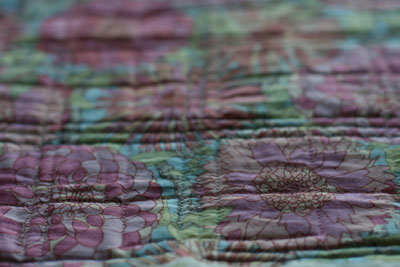
15. Wash and dry the quilt. I just love the quilted wrinkliness! (Or is it the wrinkly quiltedness?)

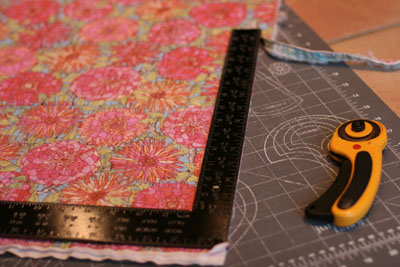
16. Trim up the edges. I use a square out of my husband’s tool box because it is longer than any quilting ruler that I have. The goal here is to make square corners and edges that have a proper top and bottom.
17. Almost done! Now it’s time to bind the quilt. Cut the binding fabric in 2 ½ inch strips.

Sew the strips together.

Fold the strips in half, wrong sides together, and press them.
On the right side of the quilt, align the raw edge of the binding strips to the raw edge of the quilt. Sew using a ¼” seam allowance.
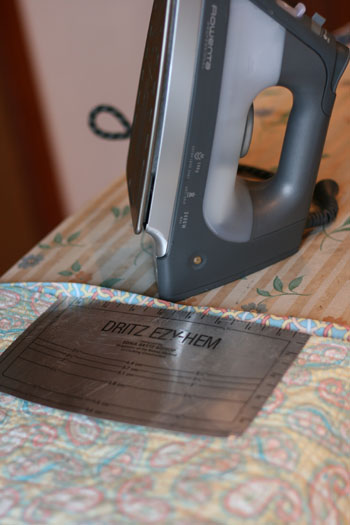
Press the binding toward the outer edge of the quilt. Fold it over the quilt to the backside so that there is ½” on the back side and pin in place. (I use the Dritz E-Z Hem tool for this. It is fantastic for making even hems!)
I prefer to hand stitch the binding in place.
18. It’s finished! Now find a cute baby to share it with.